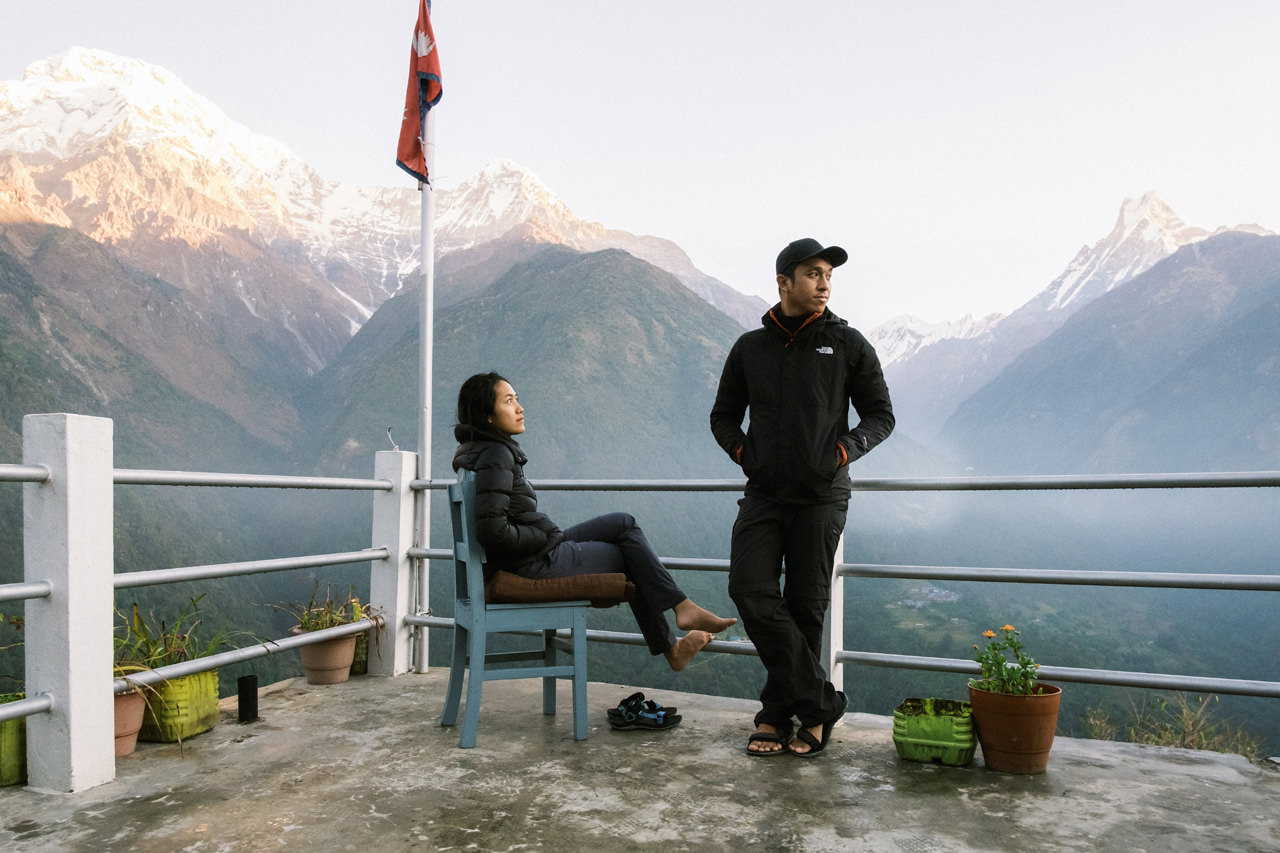
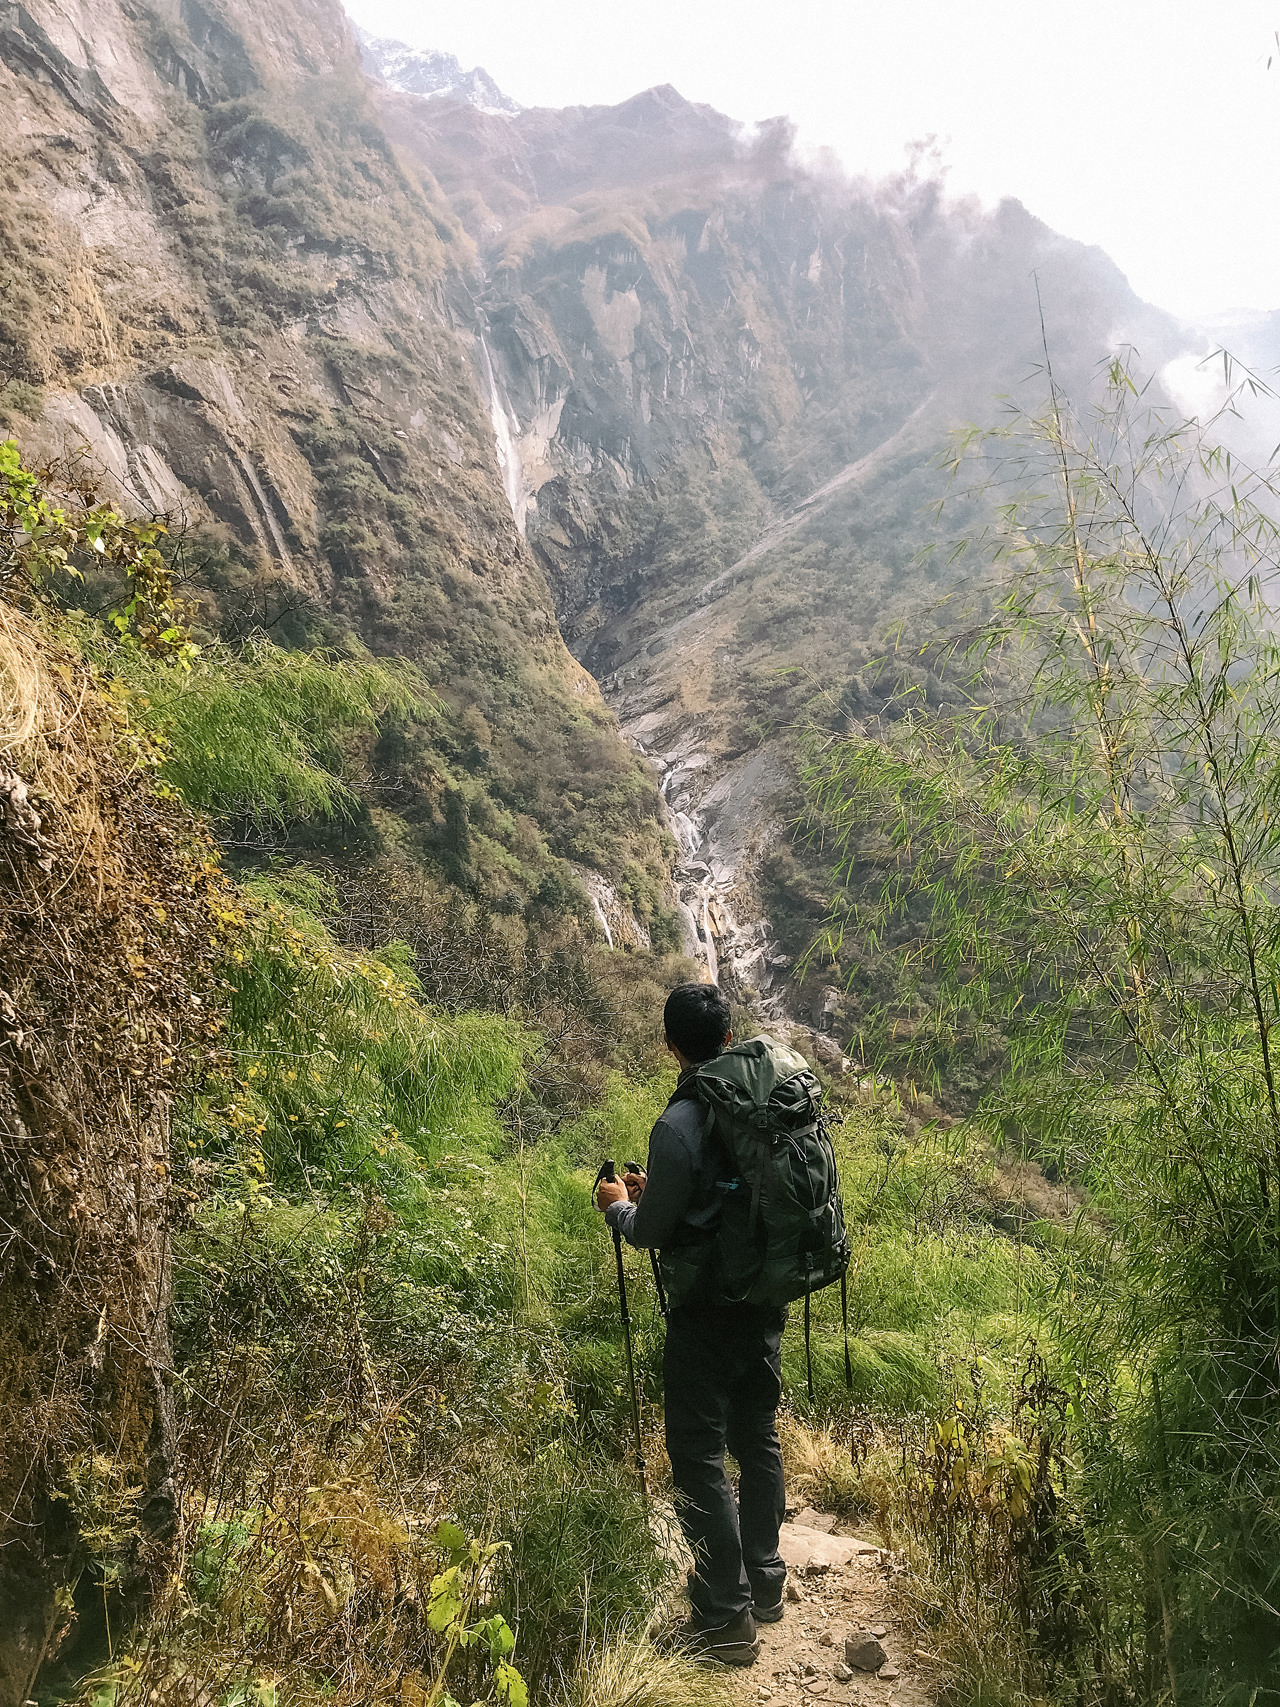
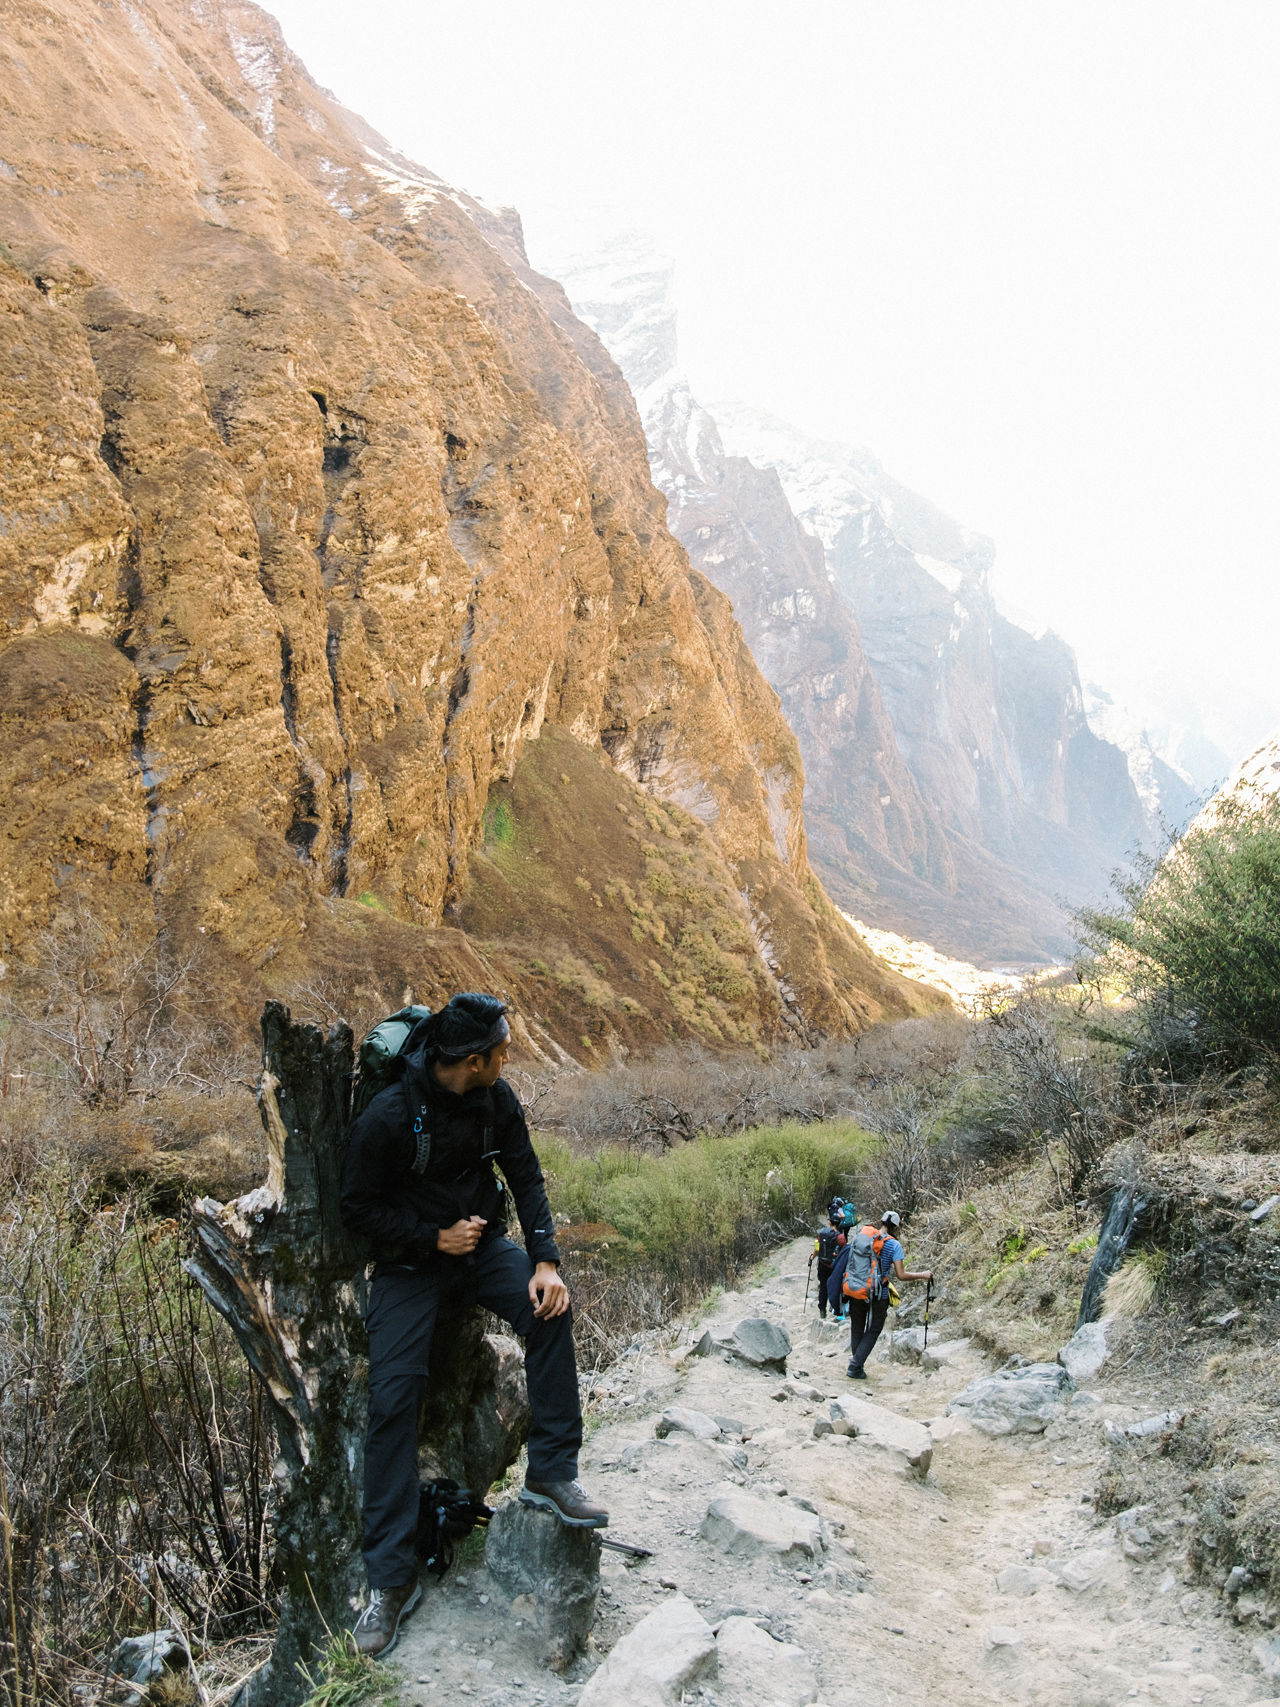
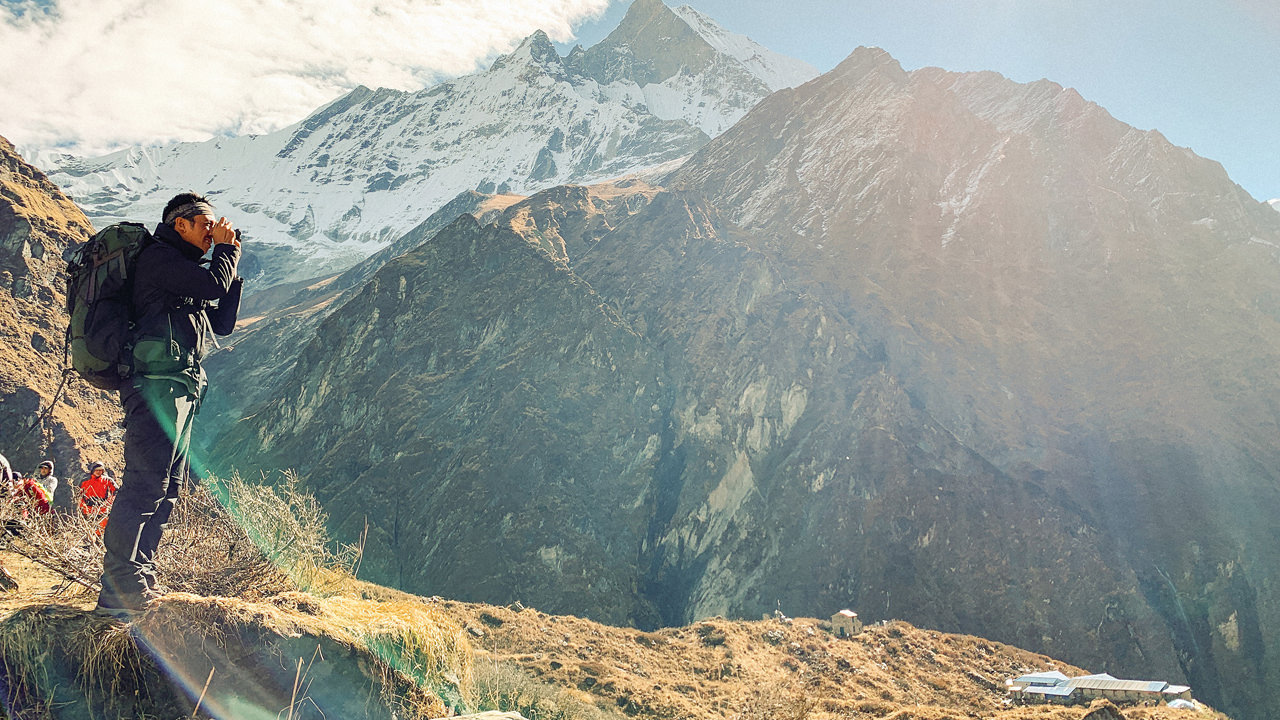
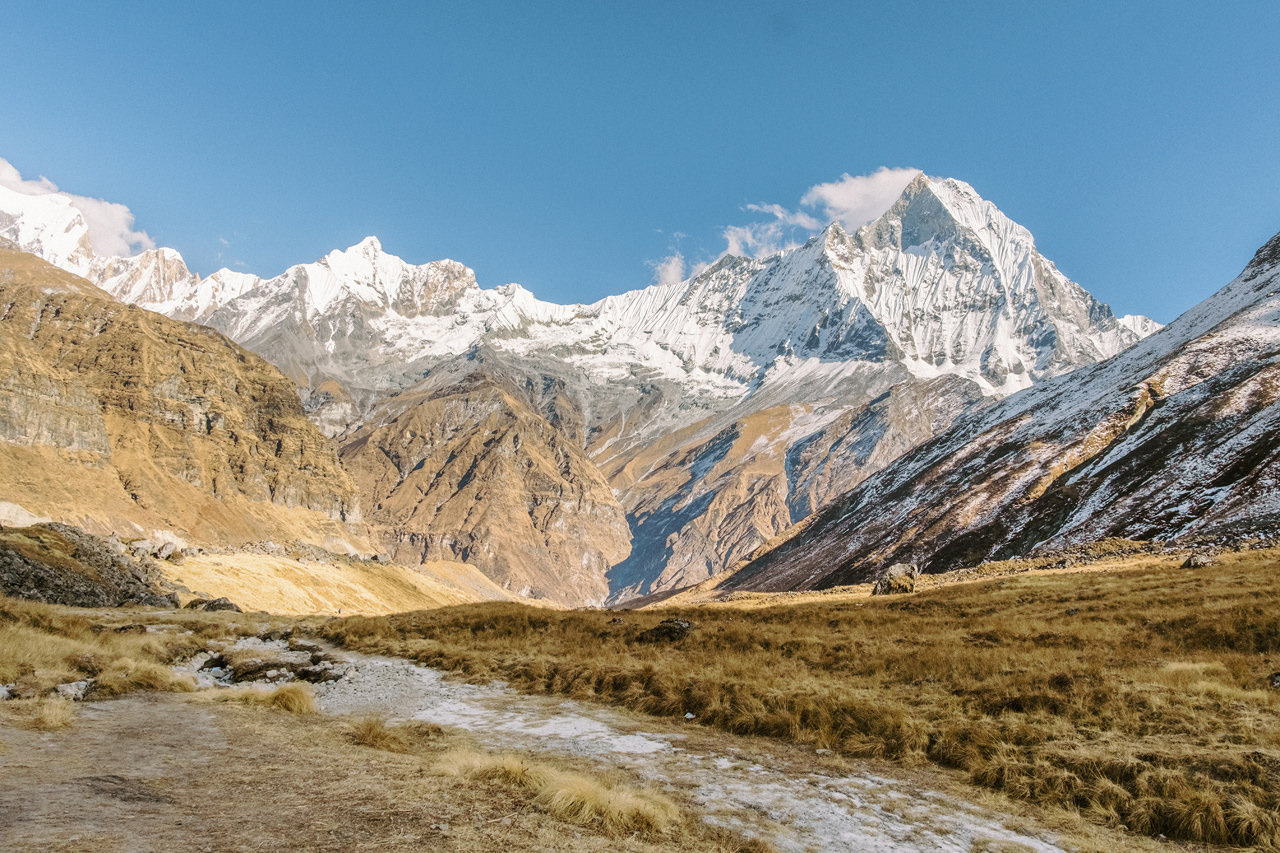
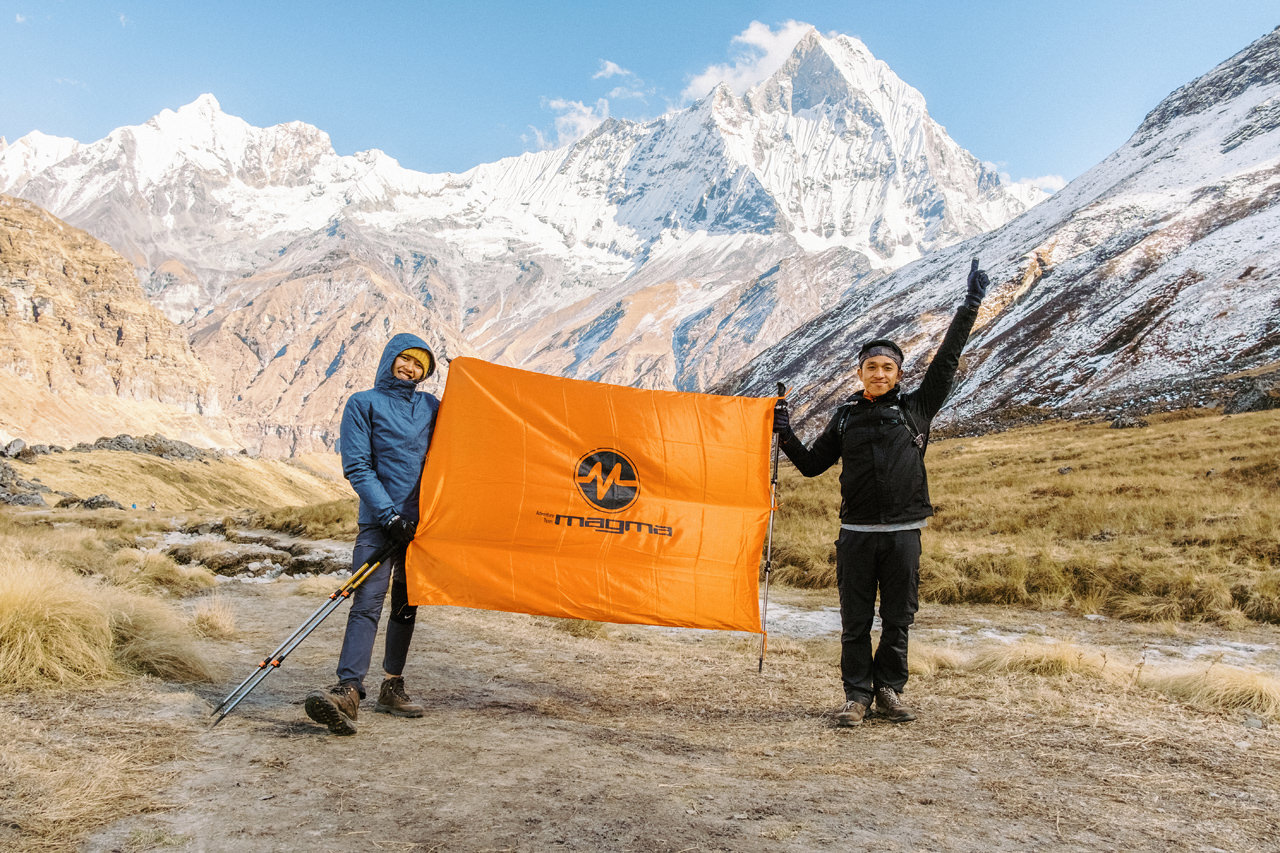
Traveling to Nepal & Trekking Annapurna Base Camp is one of my biggest dream since high school. And this was the craziest thing me & my girlfriend (Angen) ever did; trekking the Himalayas after 10 years off from outdoor activity with no guide or porter. If we thought about it again, we kind of underestimated the difficulty of trekking the Himalayas. The track was like a roller coaster. You either go up or go down, making the journey descending as equally tired as ascending. Annapurna Base Camp (ABC) Trek is one of the most popular treks in Himalaya, Nepal. It is considered easy and shorter trek than other higher altitude treks in Nepal. This trek incorporates diverse terrain, culture, and wildlife. Along with the most spectacular and close up view of Annapurna range, Machhapuchhre, Hiunchuli, and Dhaulagiri.
Before we go further, first let me explain about how to get there, and what you need to know before planning to Trekking Annapurna Base Camp.
Kathmandu, Nepal
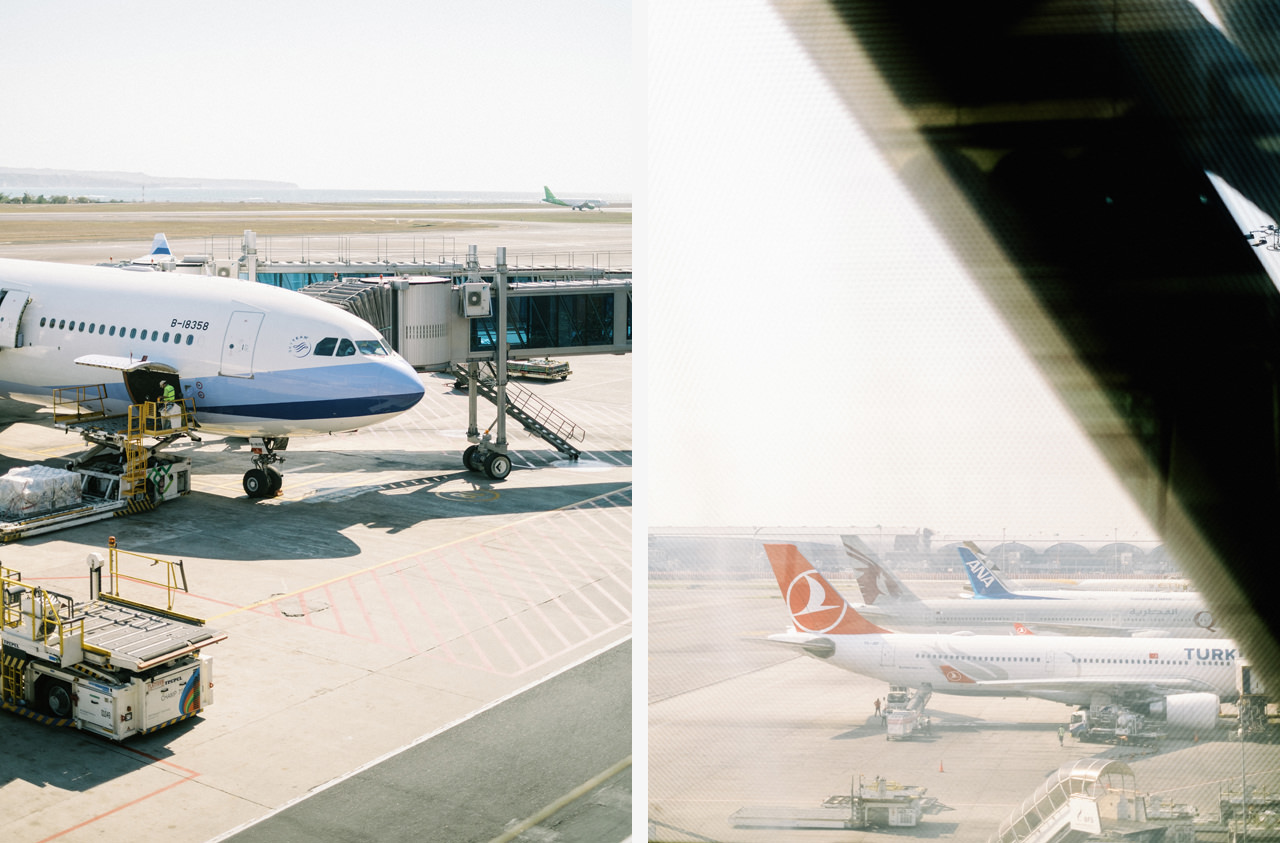
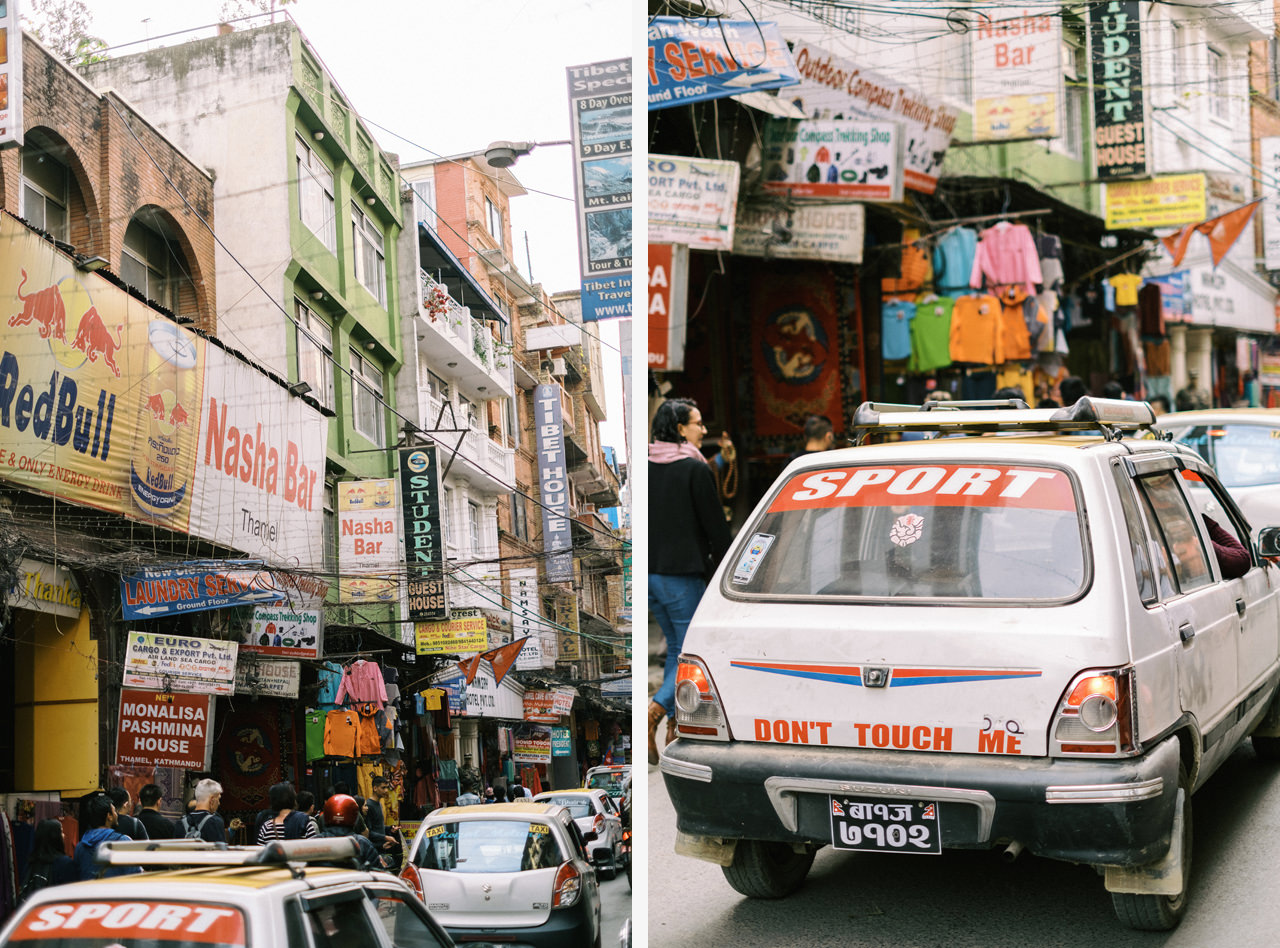
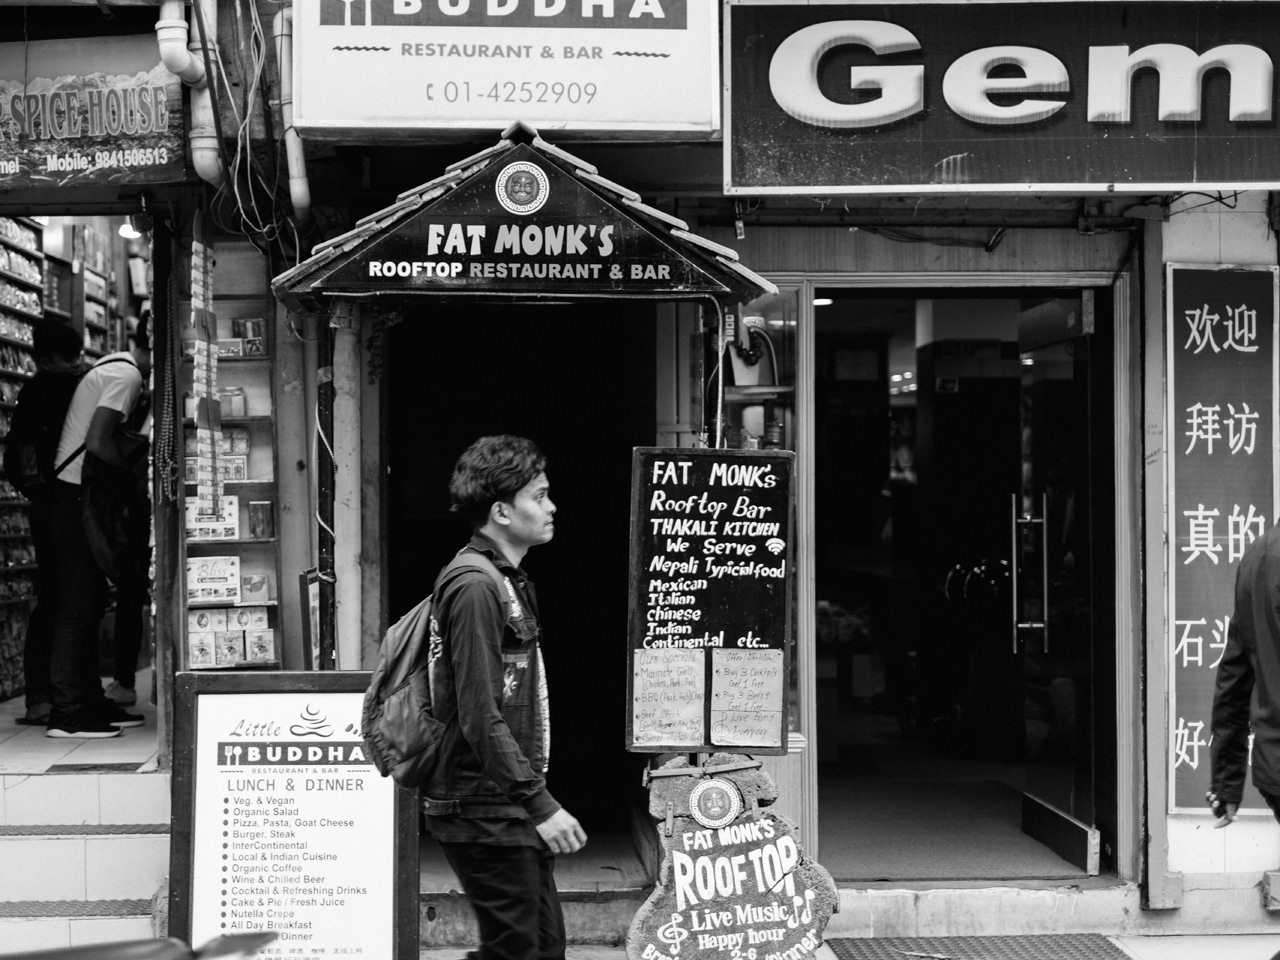
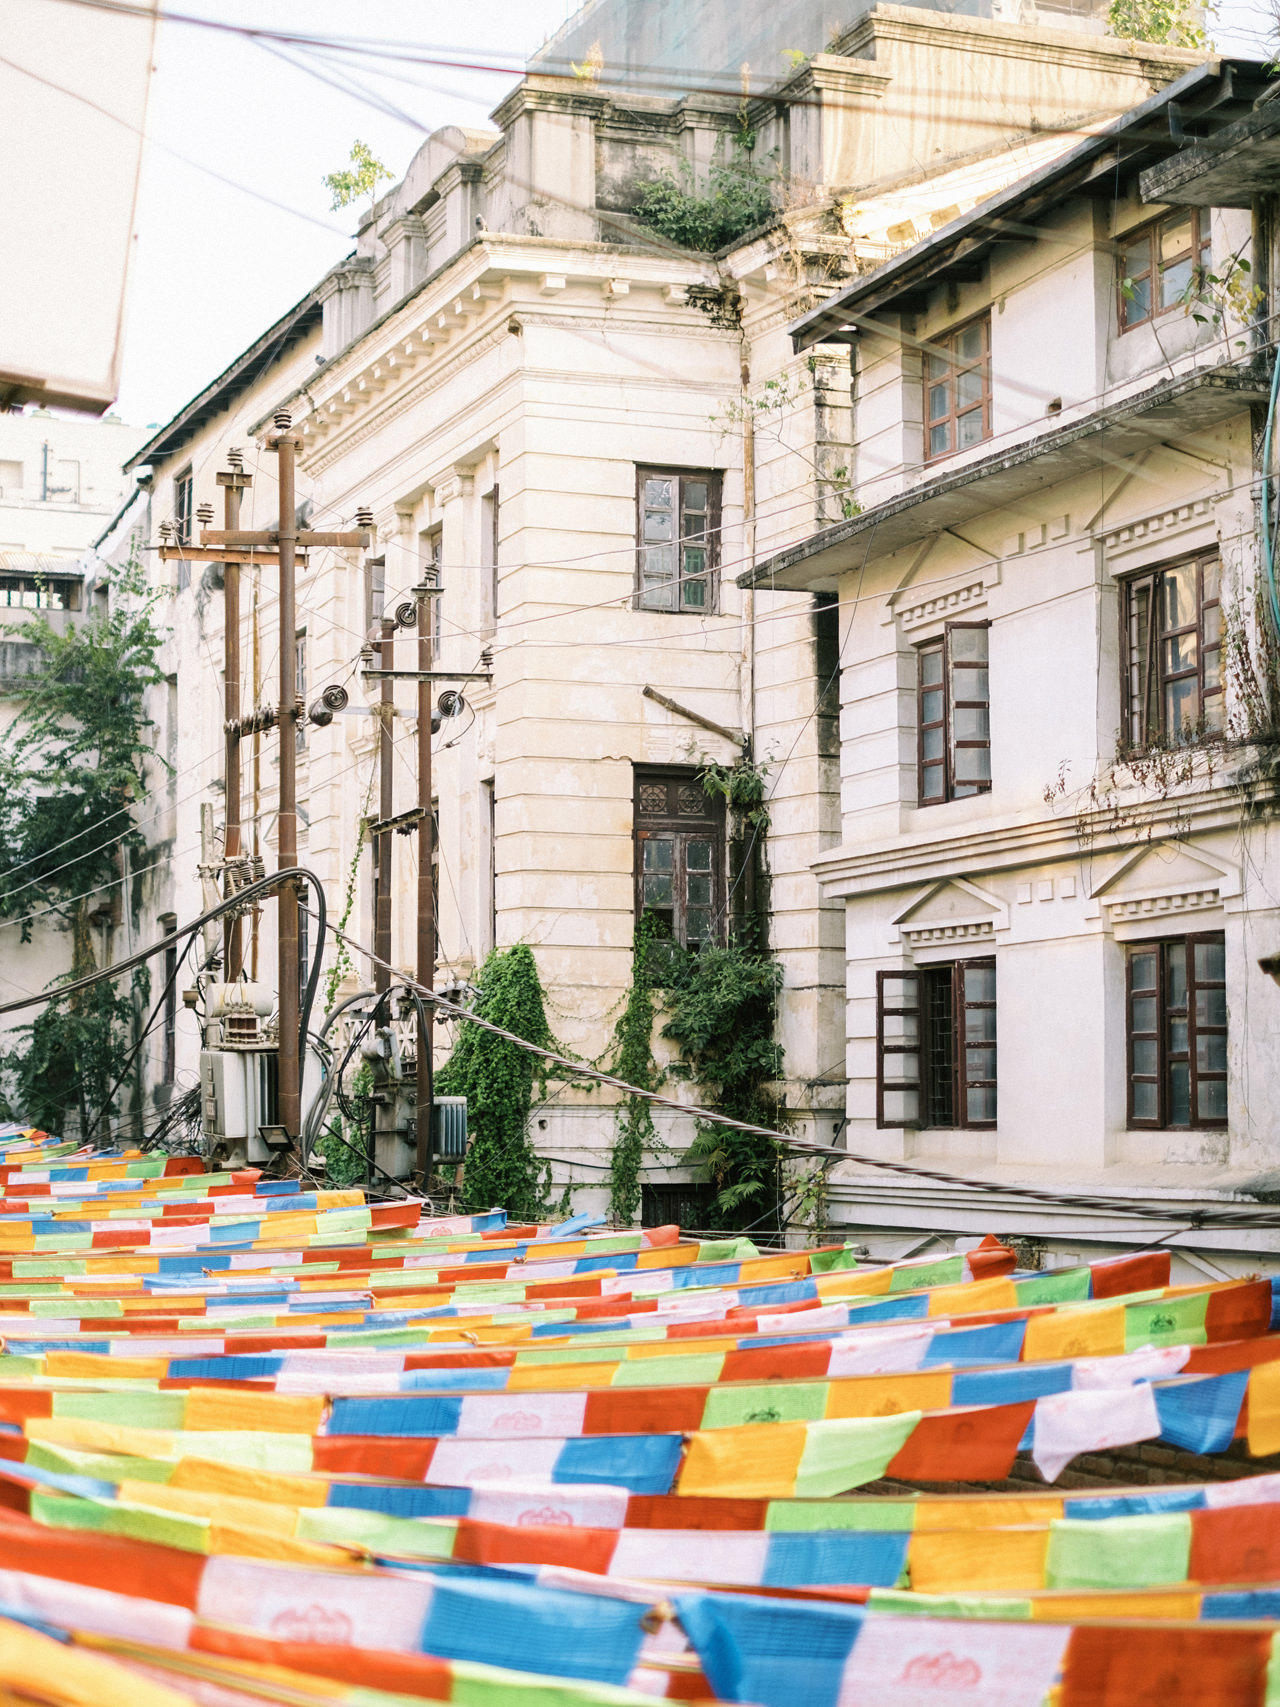
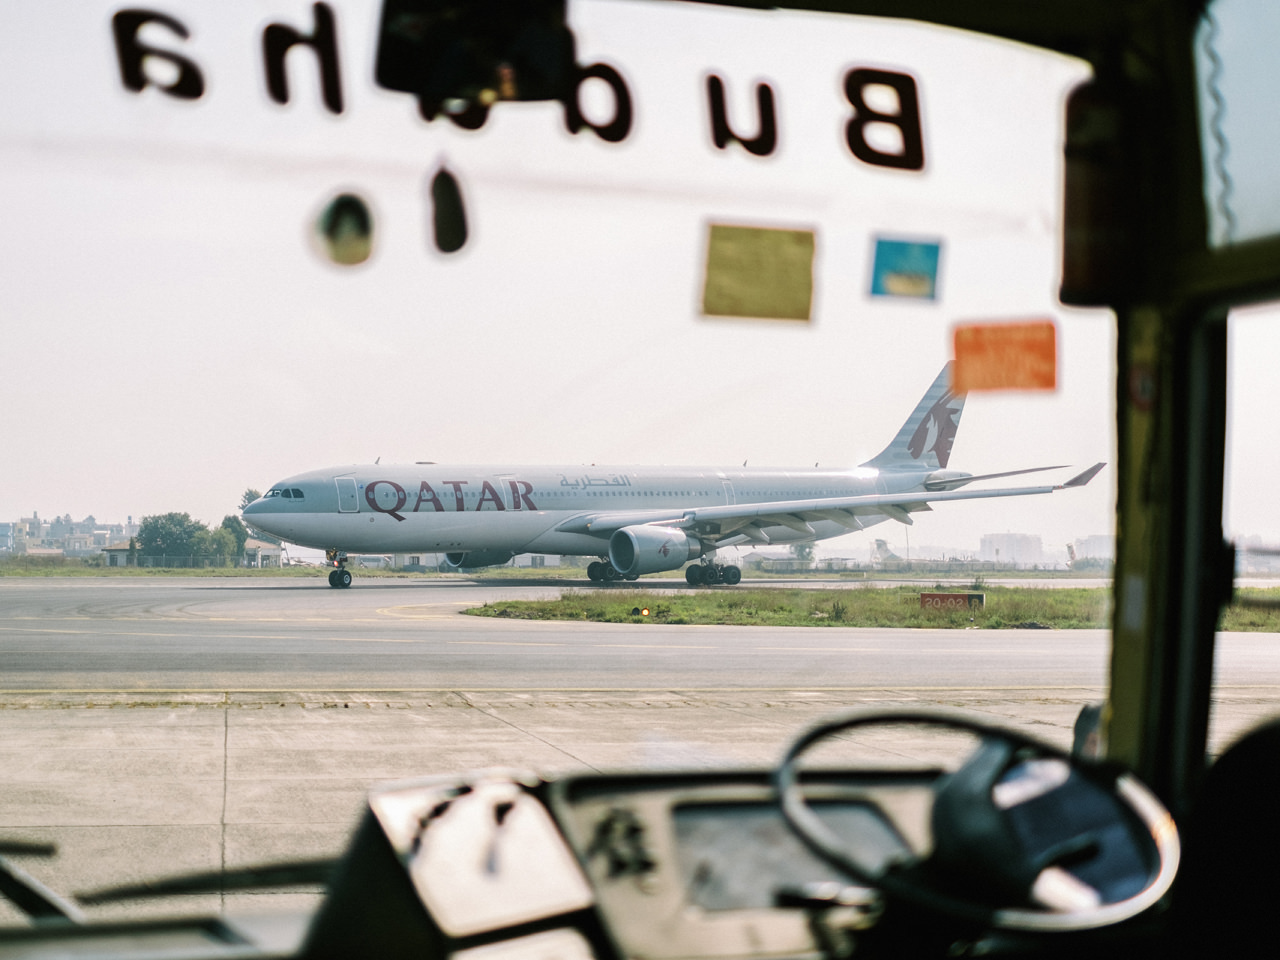
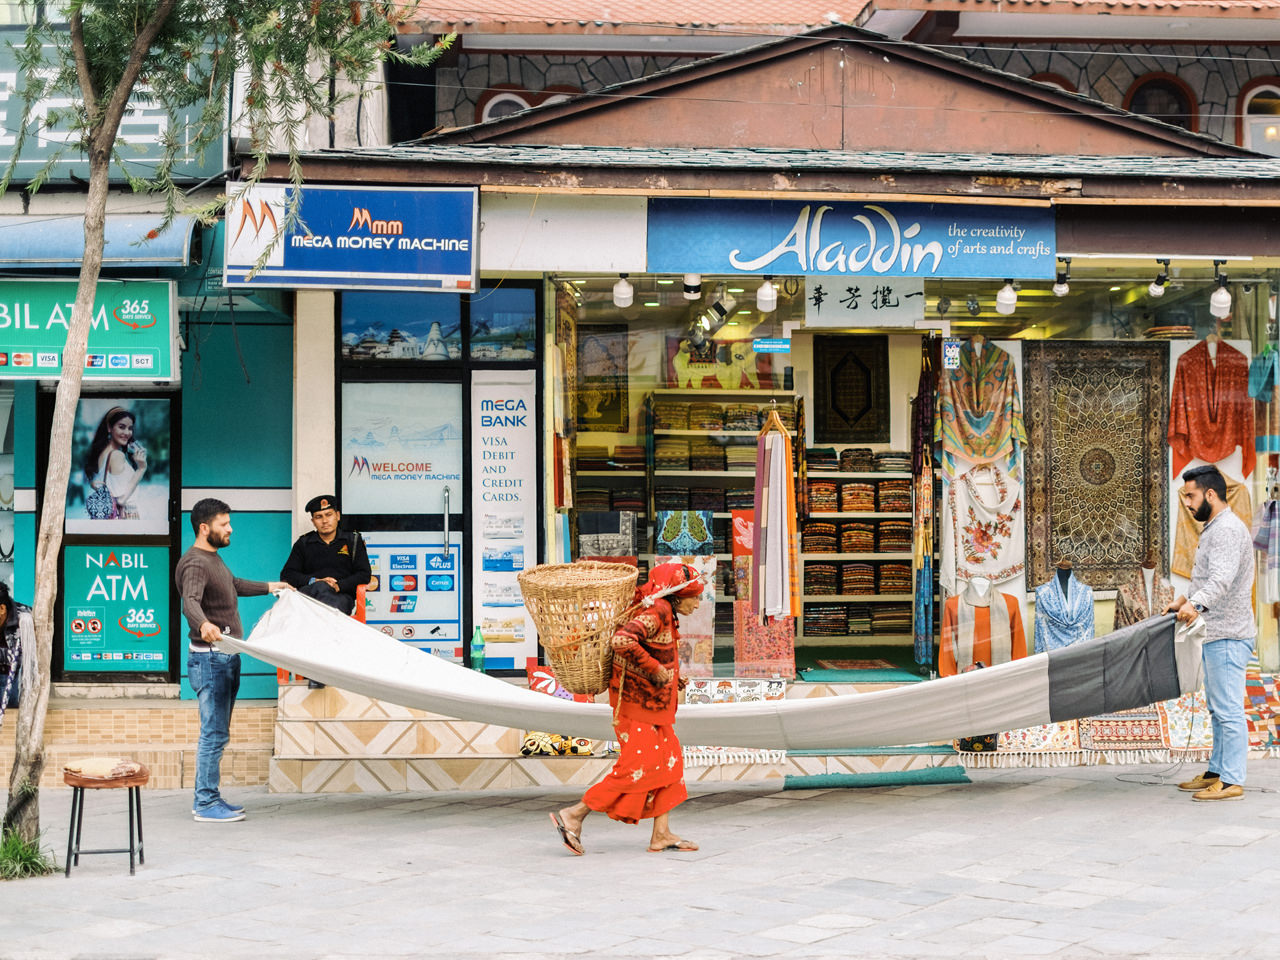
After 7 hours of total flight from Bali-Thailand-Nepal, we arrived in Kathmandu Airport on the 9 November 2019. Kathmandu is Nepal’s capital, is set in a valley surrounded by the Himalayan mountains. We decided to stay in the downtown for a night just to get some more stuff from mobile sim card, money exchange & some trekking gear. Not forget to try some local food & coffee.
There are some points that you need to take note before trek.
Preparation for Annapurna Base Camp trekking
The trekking to Annapurna Base Camp is not easy and definitely not for the faint hearted. Before you set off on your adventure, make sure you are the fittest version of you. There’s no need to be able to run a marathon, however some hiking experience is necessary. At least, if you want to enjoy your trek to Annapurna Base Camp that is! The best would be if you could combine cardio training (running, fitness, spinning / RPM etc.) with walking exercising. Make sure you can walk up to 15 kilometers without trouble, preferable on an unpaved surface (woods, dirt roads etc) and carry a pack with all you need for the day without issue. As you will most likely bring a porter on your Annapurna Base Camp trek (more about the how/why later!) there’s no need to be able to carry a heavy pack. I’d say anywhere between 5-10 kilos would be fine.
Exercising at least three times a week is useful if you plan on trek Annapurna Base Camp without too much trouble. A good preparation is awesome but will never guarantee that you’ll actually make it to the base camp. Altitude sickness can be a real pain when it comes to hiking here. Being well prepared and in shape make sure you’ll have a better mindset. And that’s what it’s really about.
How much money to prepare for Trekking Annapurna Base Camp?
Here is an approximate breakdown of the things you will have to pay on the trail:
– Accommodation: 300 – 400 NPR per night
– Food: 400 – 600 NPR per meal (gets more expensive the higher you are)
– Water: 50 NPR per litre of purified water, Free for tap water, we only recommend to drink tap / river water after you pass Bamboo Village.
– Nepal Visa: 15 USD for 15 days entry visa
– Jeep from Motkyu to Pokhara (Optional): 2500 NPR
– Flights to Pokhara and Back: 160 USD round-trip
Permits for Trekking Annapurna Base Camp
To trek to Annapurna Base Camp, you need two permits.
One is Annapurna Conservation Area Project (ACAP) card. These will costs:
– For SAARC nationals: Nrs.200 (about US $2), For Foreigners: Nrs.2000 (about US $20)
– Second is Trekkers’ Information Management System (TIMS) card that costs NRS. 2000 (about US $20)
Trekking Annapurna Base Camp Equipment Required:
– A lightweight trekking boots. It is not impossible to do this trek in sneakers but boots offer more safety & comfort. Make sure that your shoes are well fitting, light and comfortable
– A pair of trekking sandals for trekking back down, it’s easier to wear sandals than boots for descending to avoid knee swelling.
– Four pairs of liner socks. Two pairs for a warm climate and two pair for cold climate.
– Few pairs of underwear. There is trekking underwear that you could buy at home. They are good for other outdoor activities as well. You can find normal underwear in Nepal.
– A high-quality best ultralight packable down jacket and a down pant.
– T-shirts and trousers keeping in mind both cold and warm temperature you will be traversing.
– A set of thermal layers.
– A light sleeping bag. You can either buy or rent in Nepal or bring from your country.
– A trekking pole. Though easy, there are many ups and downs in this trek and a trekking pole can assist you.
– Two pairs of Gloves. One for warm weather and one for the cold.
– A woolen hat
– Sunglasses
– A torchlight or a head torchlight
– A First aid kit including Diamox and Oral Rehydration Salts (ORS)
– Toiletries– Toilet paper, hand sanitizer, water purifiers, sunscreen, moisturizer, toothpaste, and toothbrush.
– An offline map of Annapurna Base Camp on your mobile phone
Snacks you like and entertainment such as books, cards, an iPad etc.
Before we go to Nepal I already prepared everything because I thought there was no good brand stores in Nepal, however it turns out you can easily find brand like The North Face, Colombia in Kathmandu.
The best time to Trekking Annapurna Base Camp
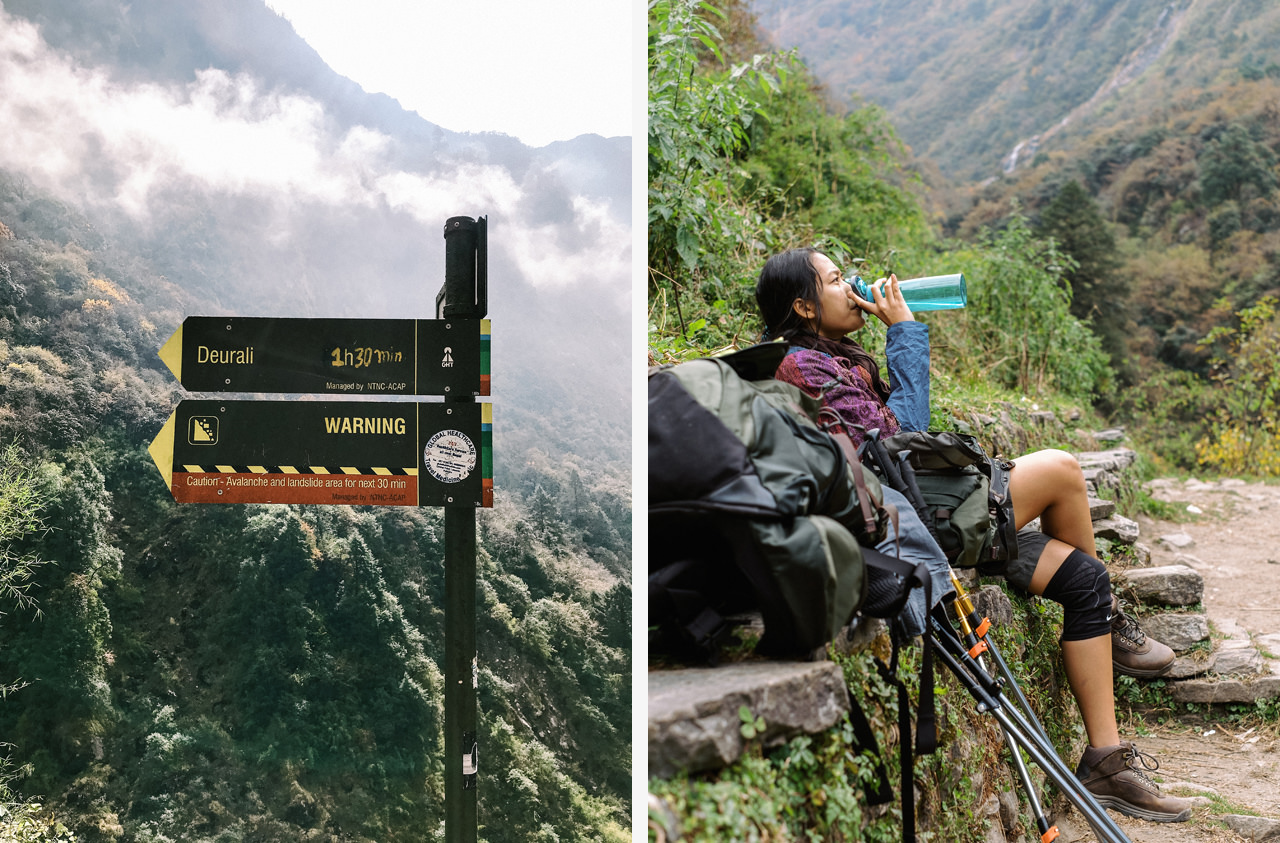
The best time to trek the Annapurna Base Camp is during the shoulder seasons of either April – May (Spring) or October – November (Autumn) which are considered to be pre-monsoon and before winter respectively. Autumn is the best time to do this trek. Autumn is a dry season that offers clear blue sky and moderate temperature. You could go during December if you would like it to be quieter. ABC is possible in winter as well. Dry air and clear sky with the best visibility but, during winter, it will be very cold and will snow. Starting from January, you need to be careful about the avalanche when traveling from Deurali to Machhapuchhre Base Camp. This stretch is prone to avalanche. Trekkers should be careful no matter what time in a year they are trekking when trekking from Deurali to MBC.
An inspiring Aerial footage from Yanghyun Jeong with drones on winter
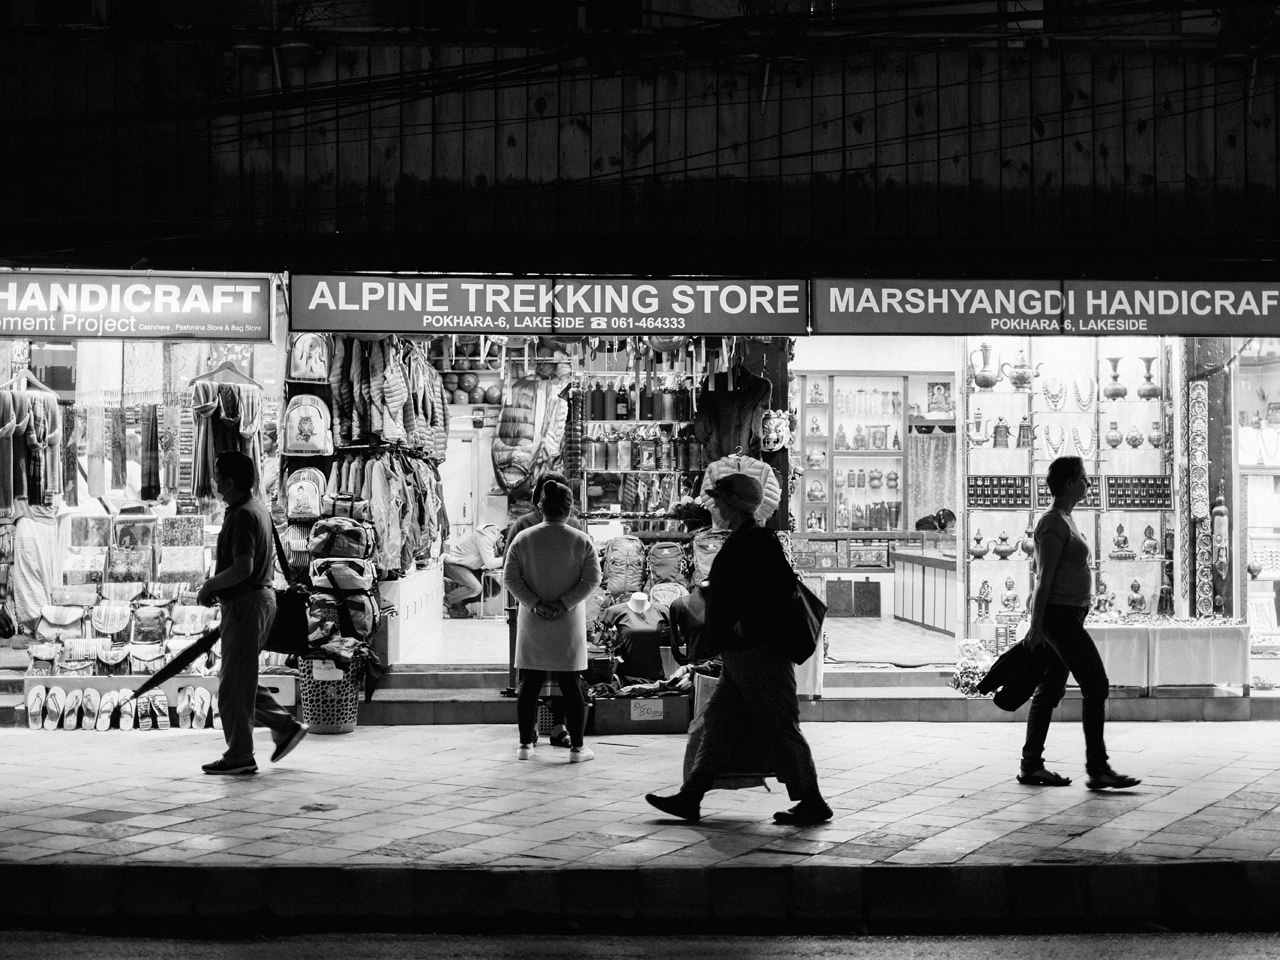
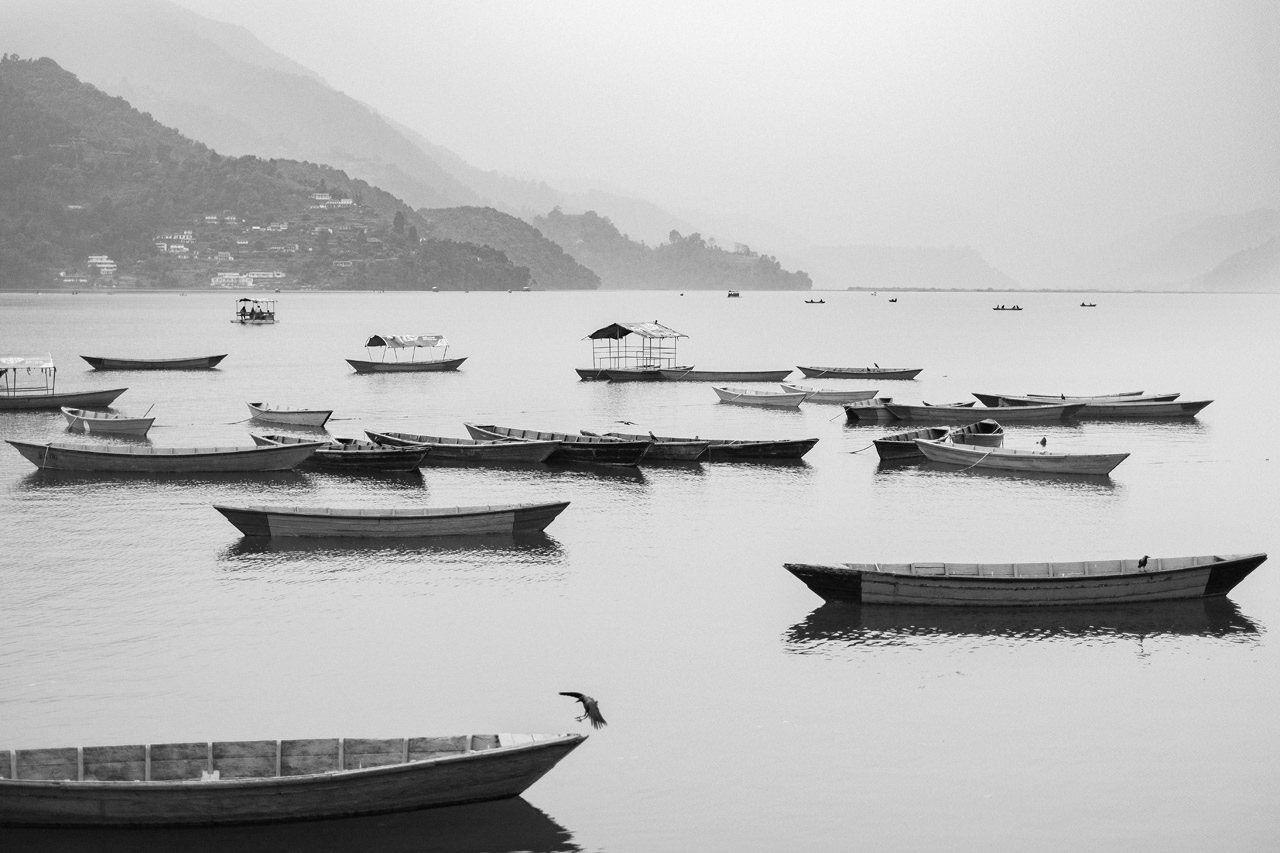
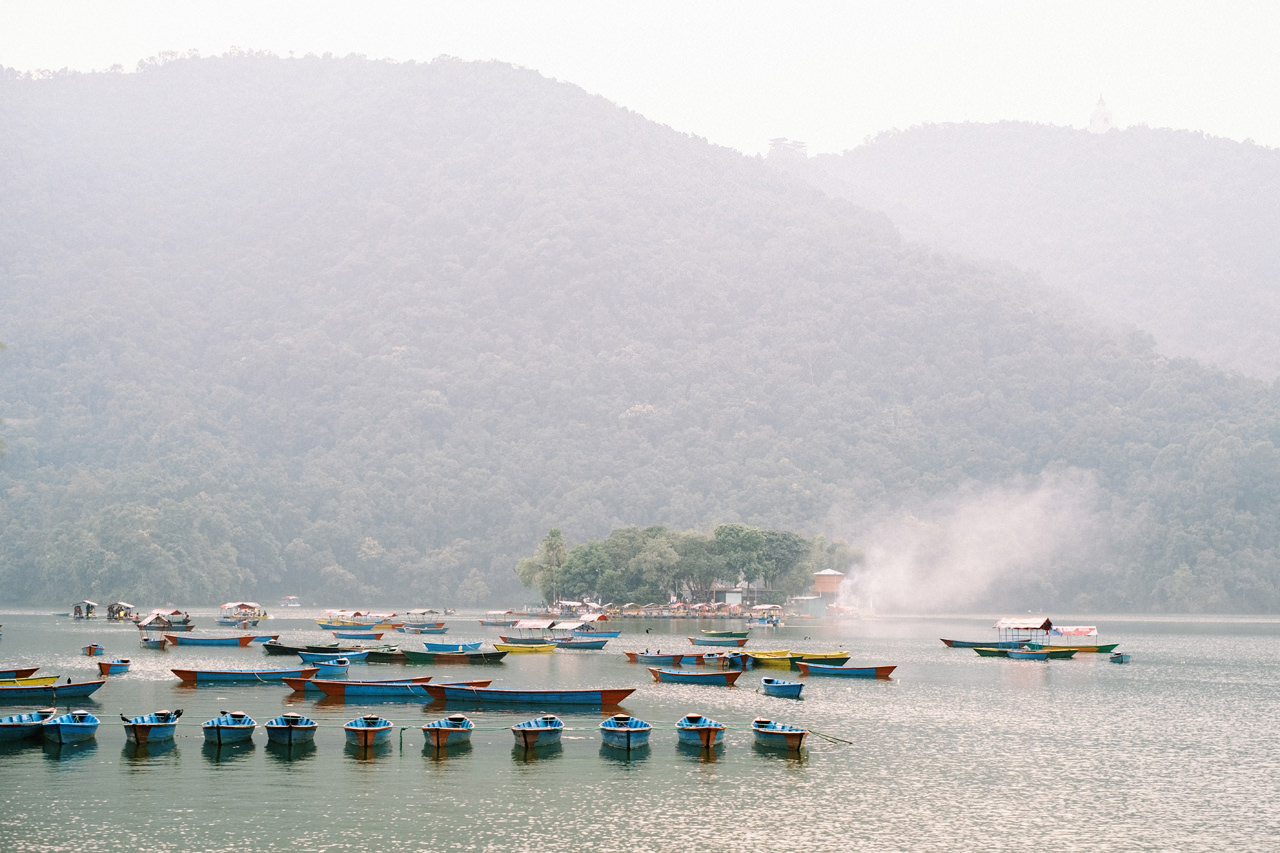
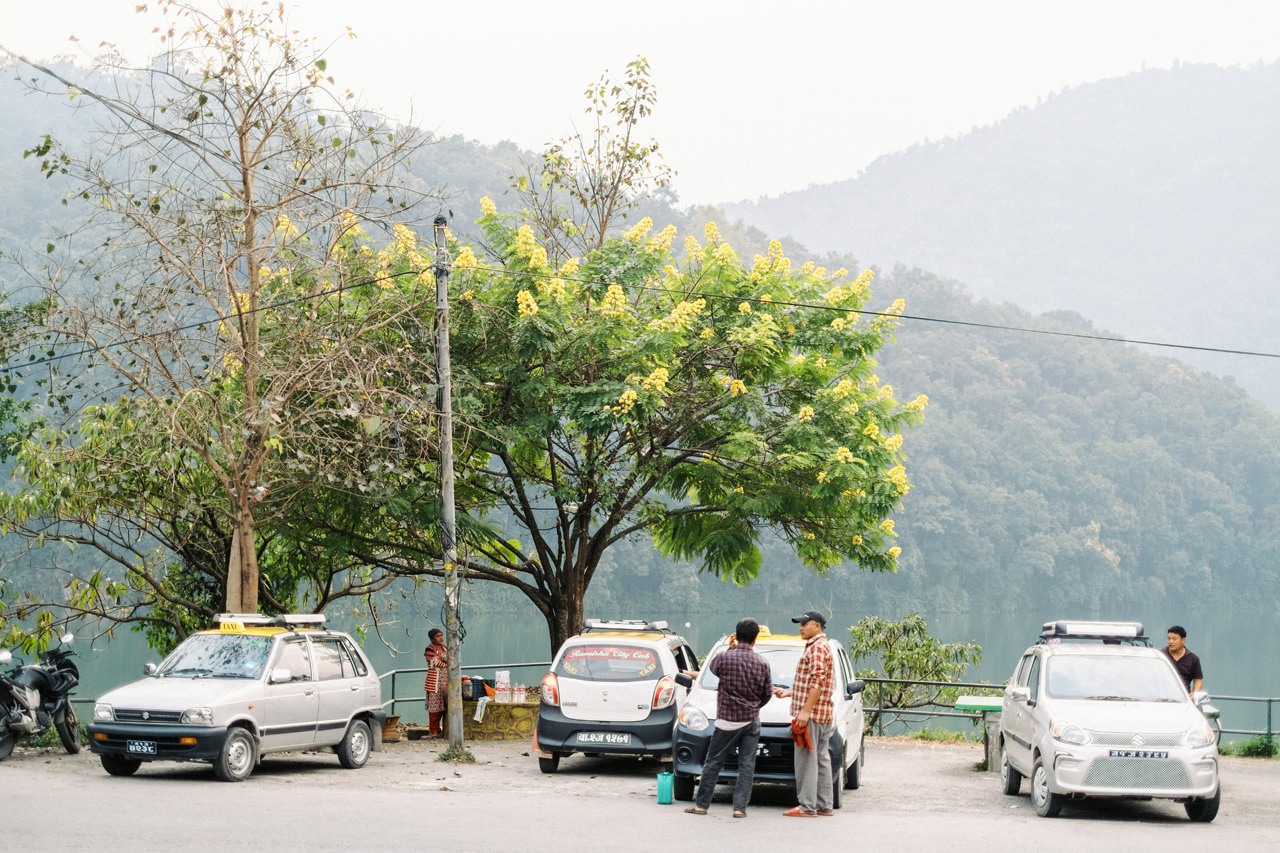
Lake Side Pokhara, Nepal
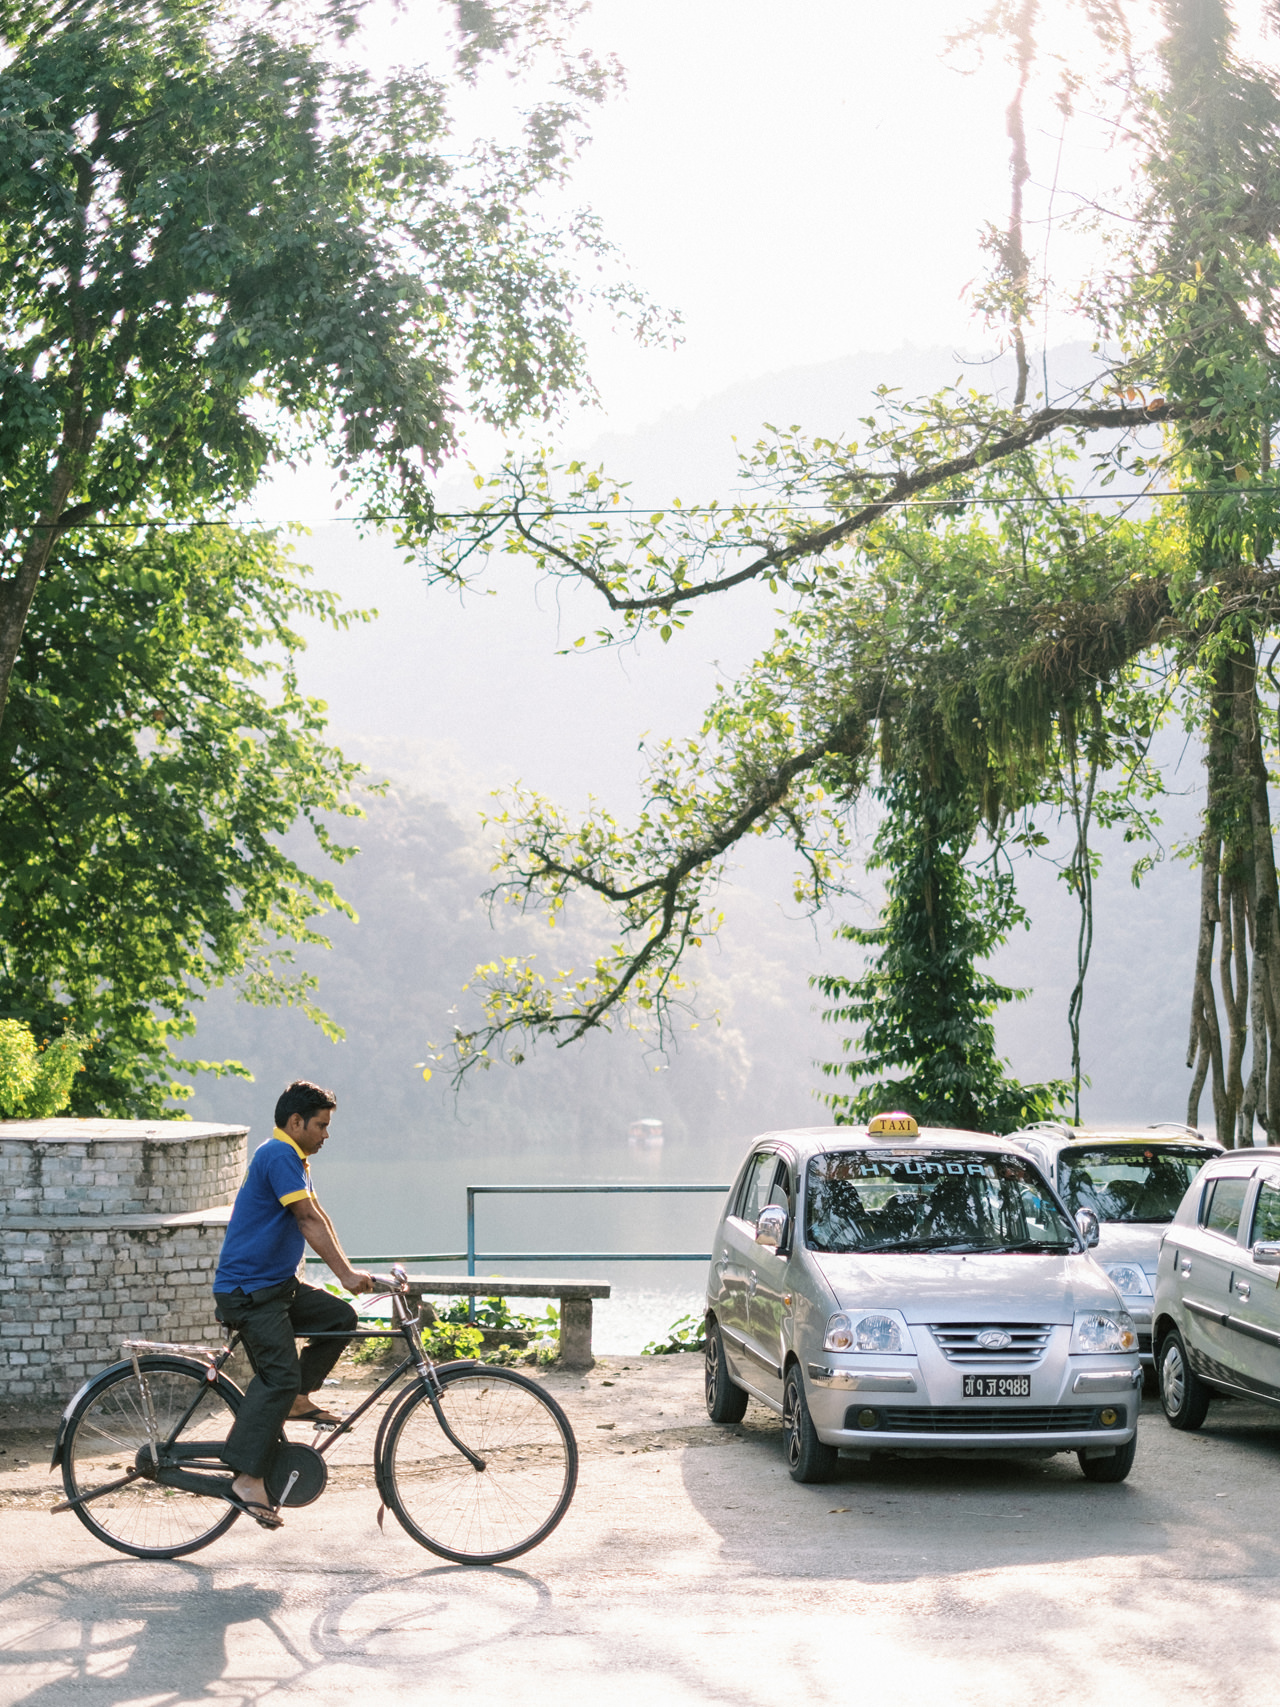
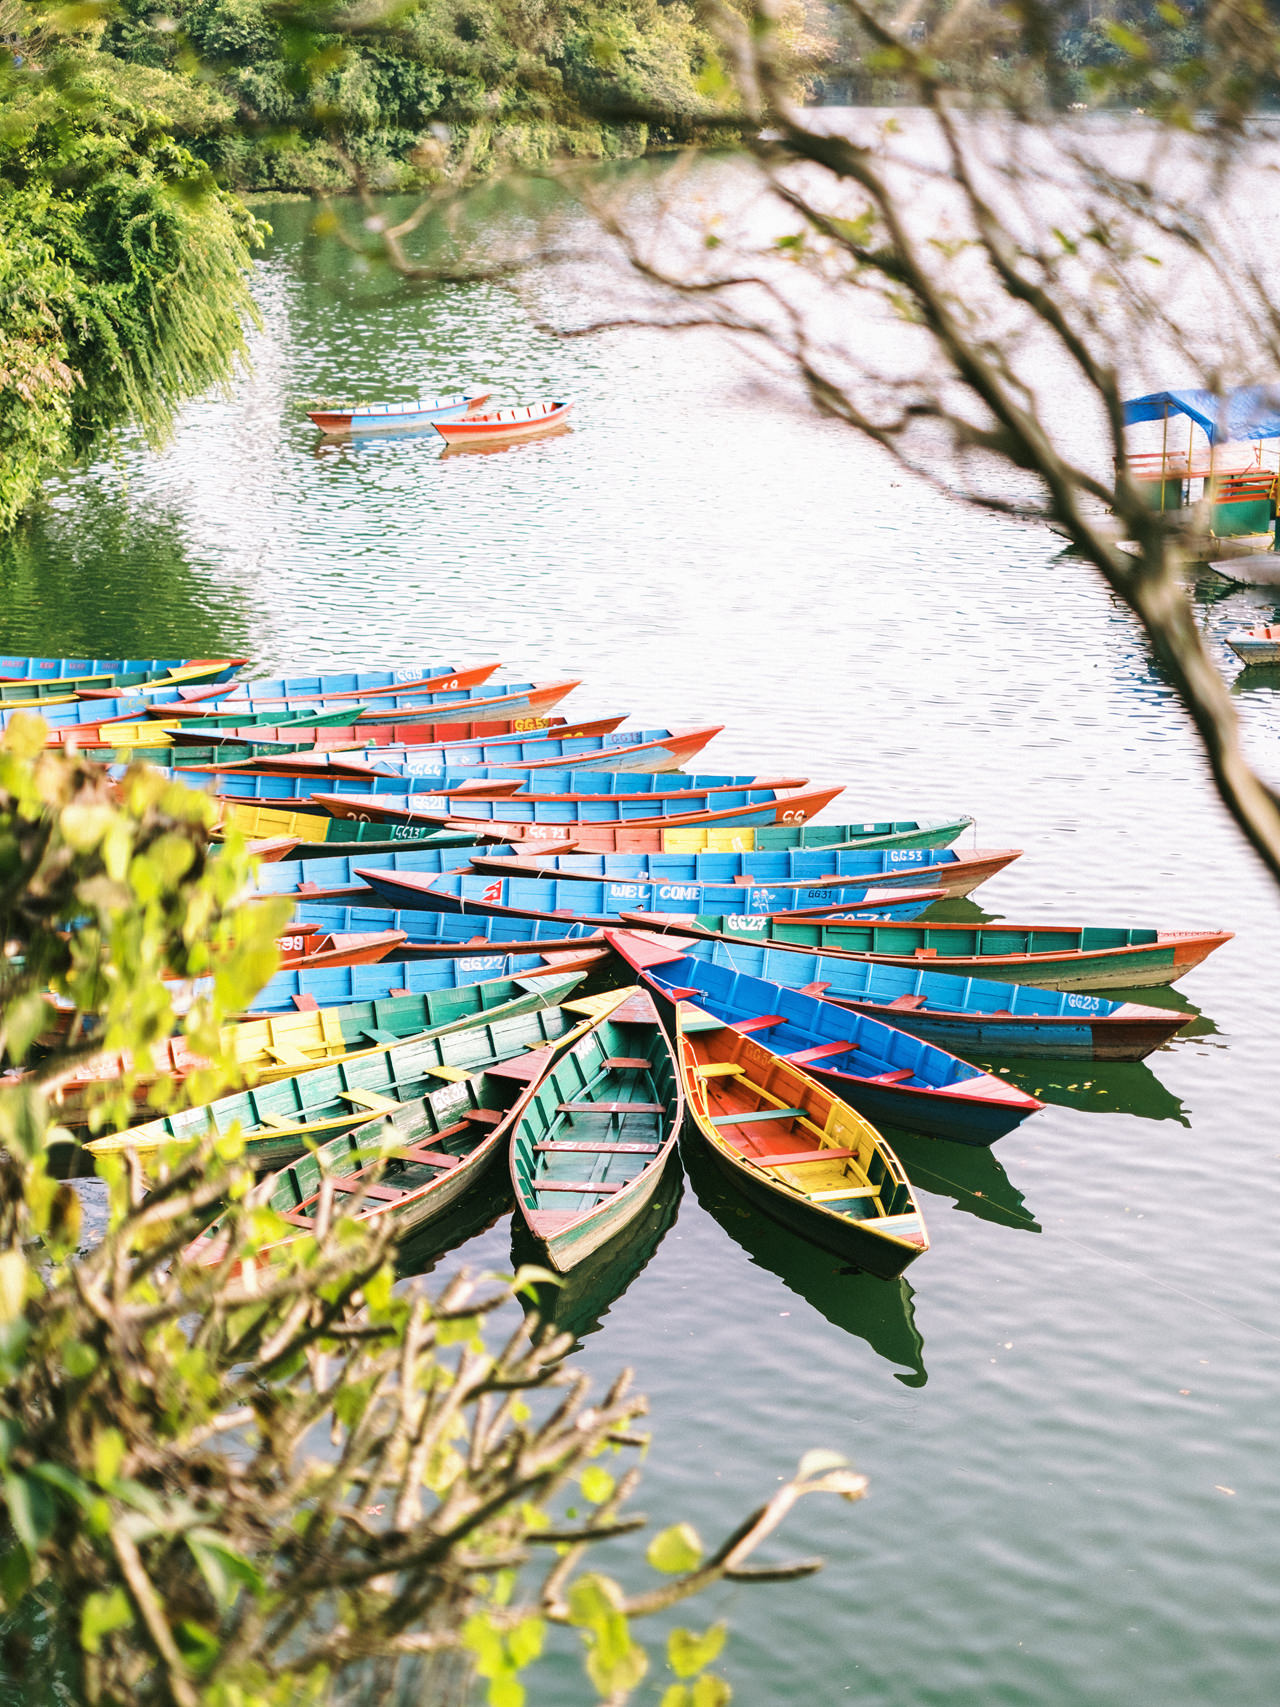
Pokhara is a metropolitan city in Nepal, which serves as the capital of Gandaki Pradesh. It is the country’s second largest city in Nepal. Pokhara is located 200 kilometres (120 miles) west of the capital, Kathmandu. You can reach this city by plane or bus (8 hours). Pokhara is known as a gateway to the Annapurna Base Camp, our starting point of the adventure.
Day 1 – Starting point: Kande (1700) to Landruk (1640) – 12 KM
We took an early morning taxi from lake side Pokhara to a small village name Kande. Most trekker knows this village as finish point, but we chose it as our starting point instead. The reason is because it has more descending trail from Kande to Landruk. So if we do the opposite ways, it’s mean we have to climb a lot of stairs on our last trek day. Which might be not a good idea.
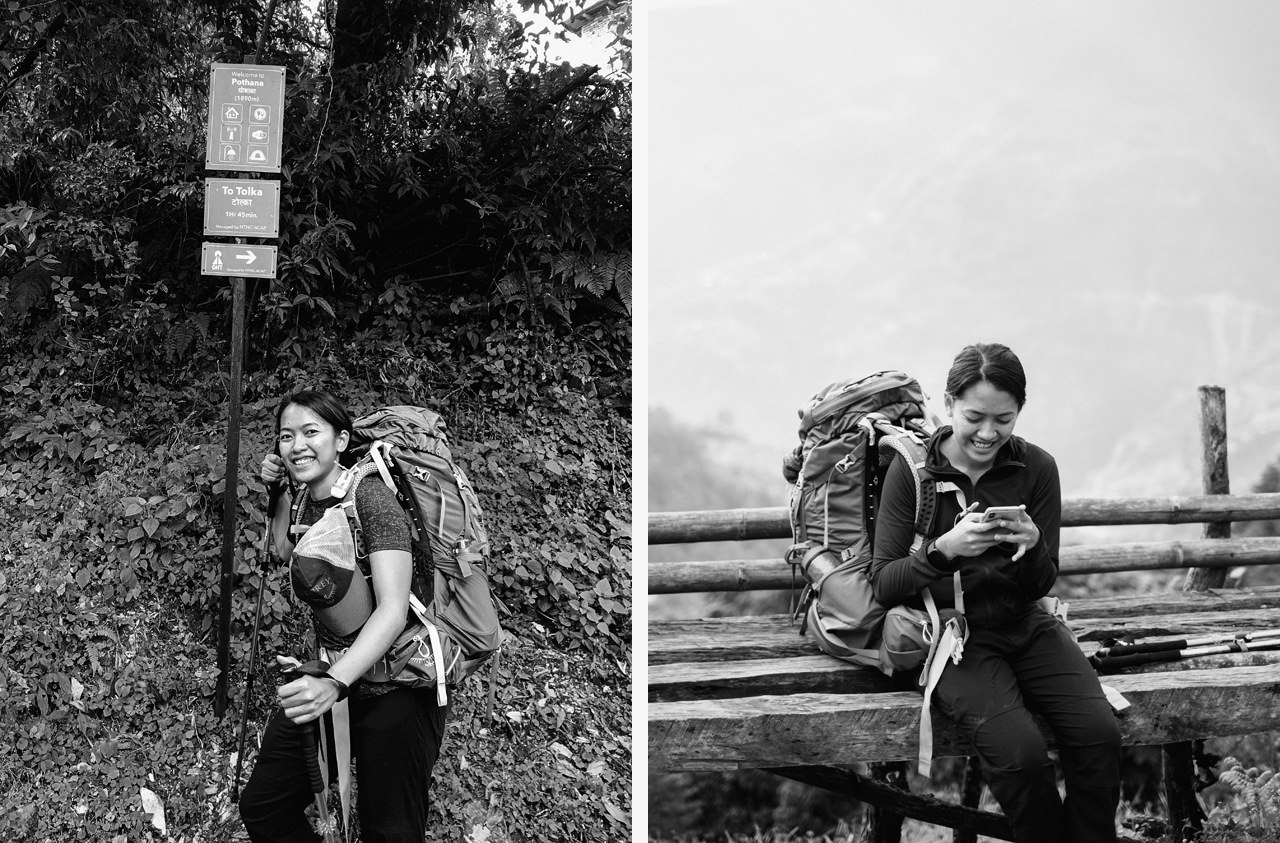
We started the trek at 8am in the morning, as early as possible. Passing few villages, the first one was Australian Camp, then Pothana. Pothana has a permit checkpoint, you will need to show your permit and get verification stamp. After 5 hours of trekking we stop at small village name Pittam Deurali for lunch break. So far the trek was easy up & down. It was good to let the body to adapt & get used to the activity.
We continue the trek by walking down an enormous numbers of stairs. This is what we talked about before. In fact walking down with heavy weight on your back is quite challenging. Be careful, most people get knees injury because of this descending trails.
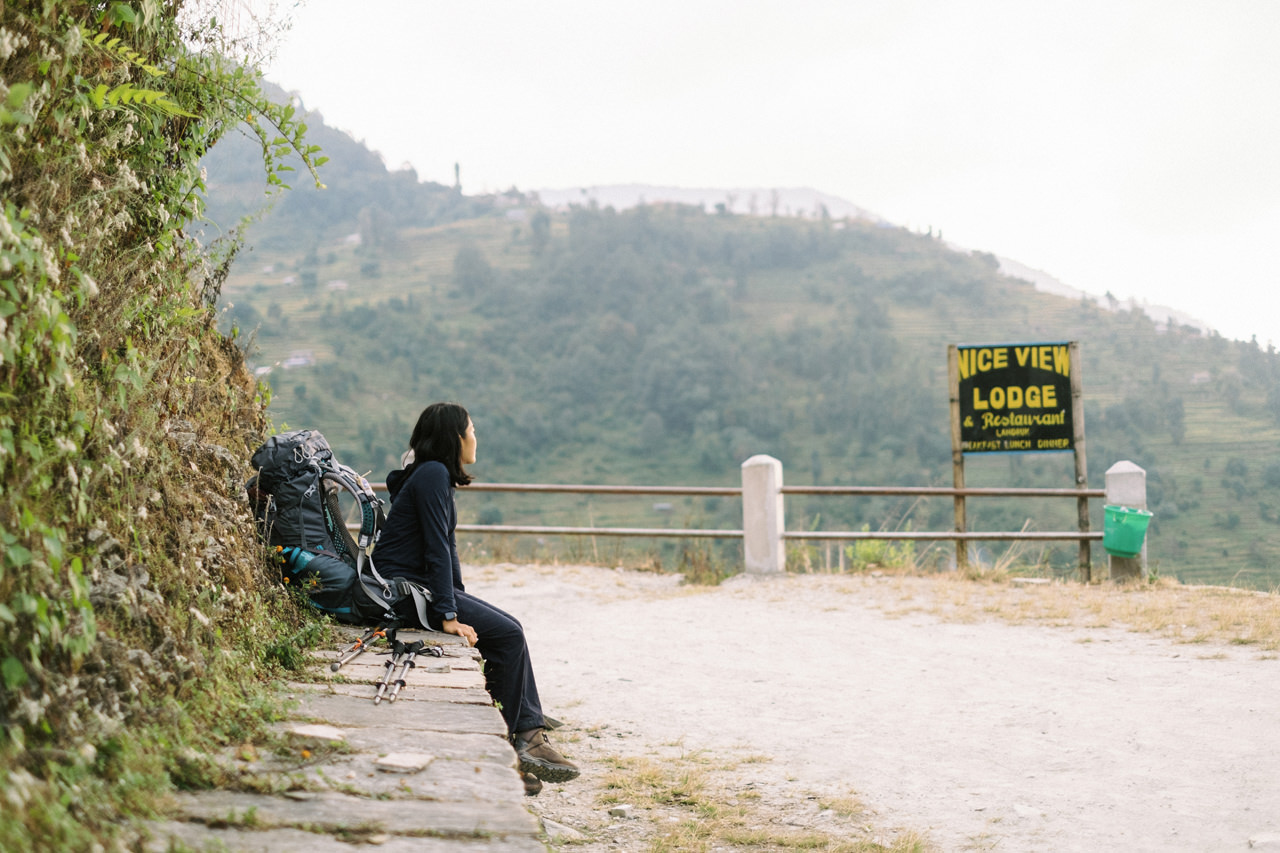
After 3 more hours of walk we passed another village named Tolka. We met a lot of village kids along the way, and you will notice that most of them will sing same song over and over again. We actually planned to stop and stay here, but the time & our energy still allow us to continue and reach Landruk, which is 2 more hours away. By 6 pm we finally arrived at Landruk, the sun was completely gone, and luckily we were able to get a room for us to stay. We won’t recommend you to continue walking after 4 PM, as it’s too risky walking at night and chances for you to get lodge room is smaller. So if you reach some village after 4pm, just stay there and rest.
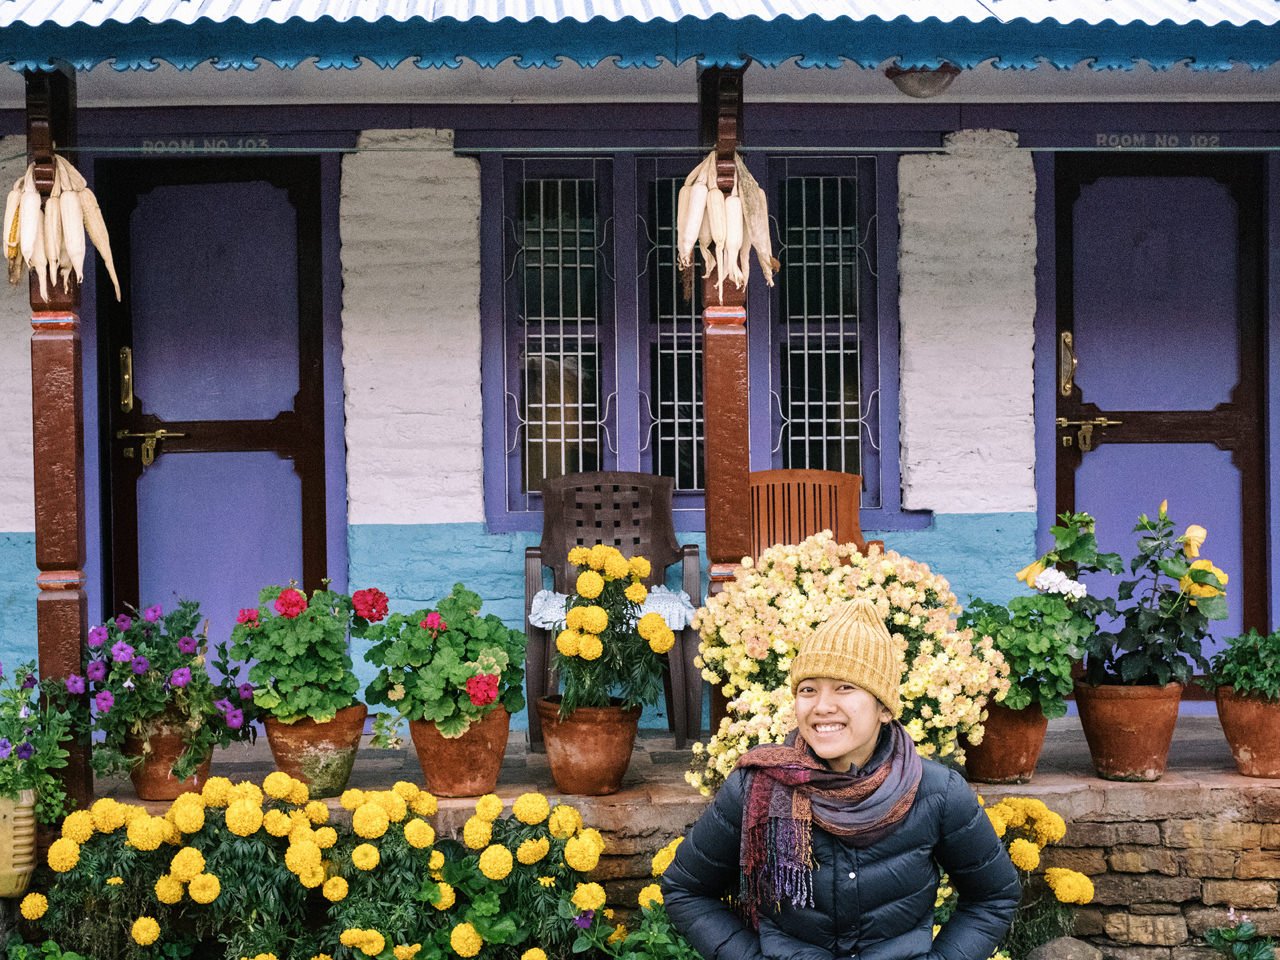
During your trek you will stay overnight in tea houses. These are small lodges that usually have a communal space and a sleeping area. In the communal space you can have your meals and charge electronics, sometimes use wifi and chat with fellow hikers. Rooms in teahouses don’t have running water nor electricity port. Showering is a luxury and usually shouldn’t be done anymore when you reach 3.500 meters in altitude because it’s going to be difficult to get warm again once you take a shower. For all the above mentioned things (showers, running water, electricity and wifi) you’ll need to pay extra. The higher you go, the more expensive everything becomes.
Landruk (1640)
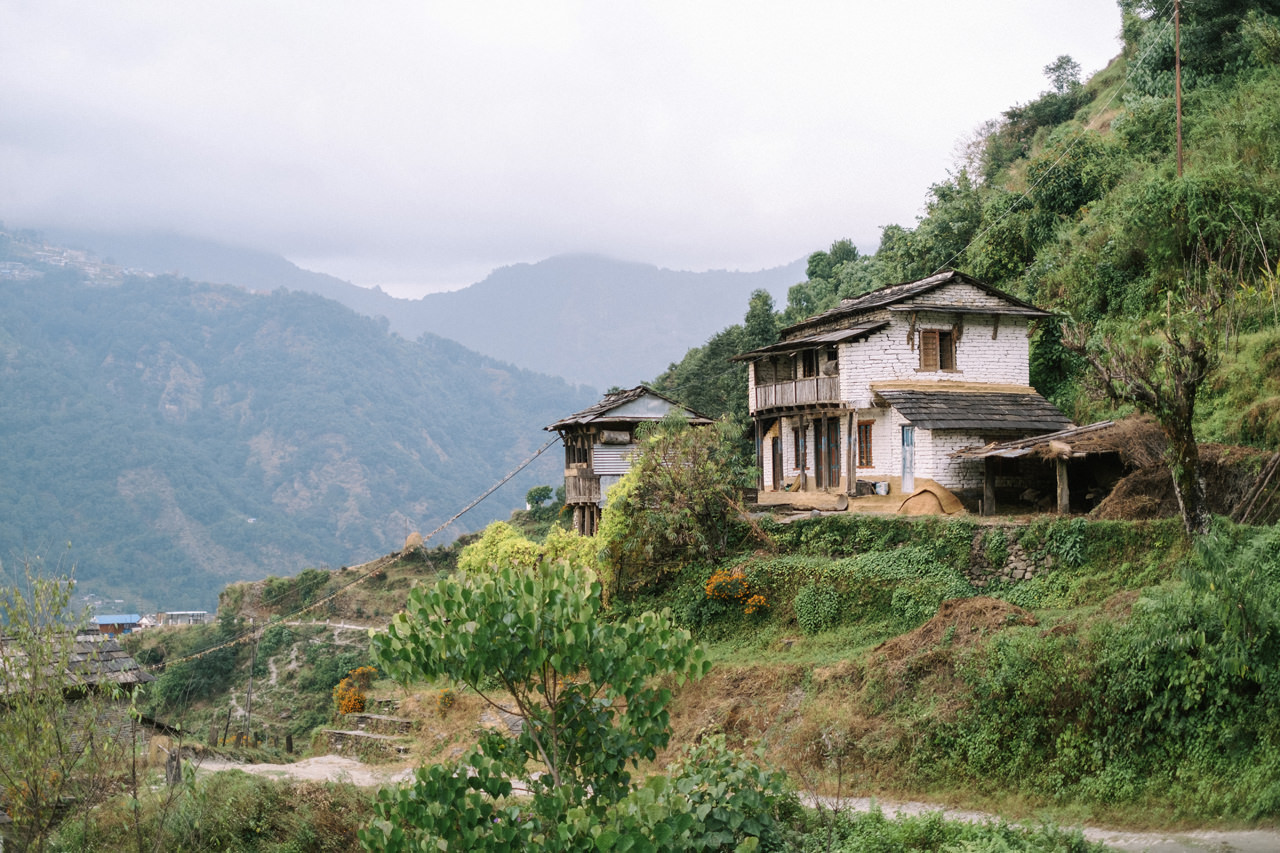
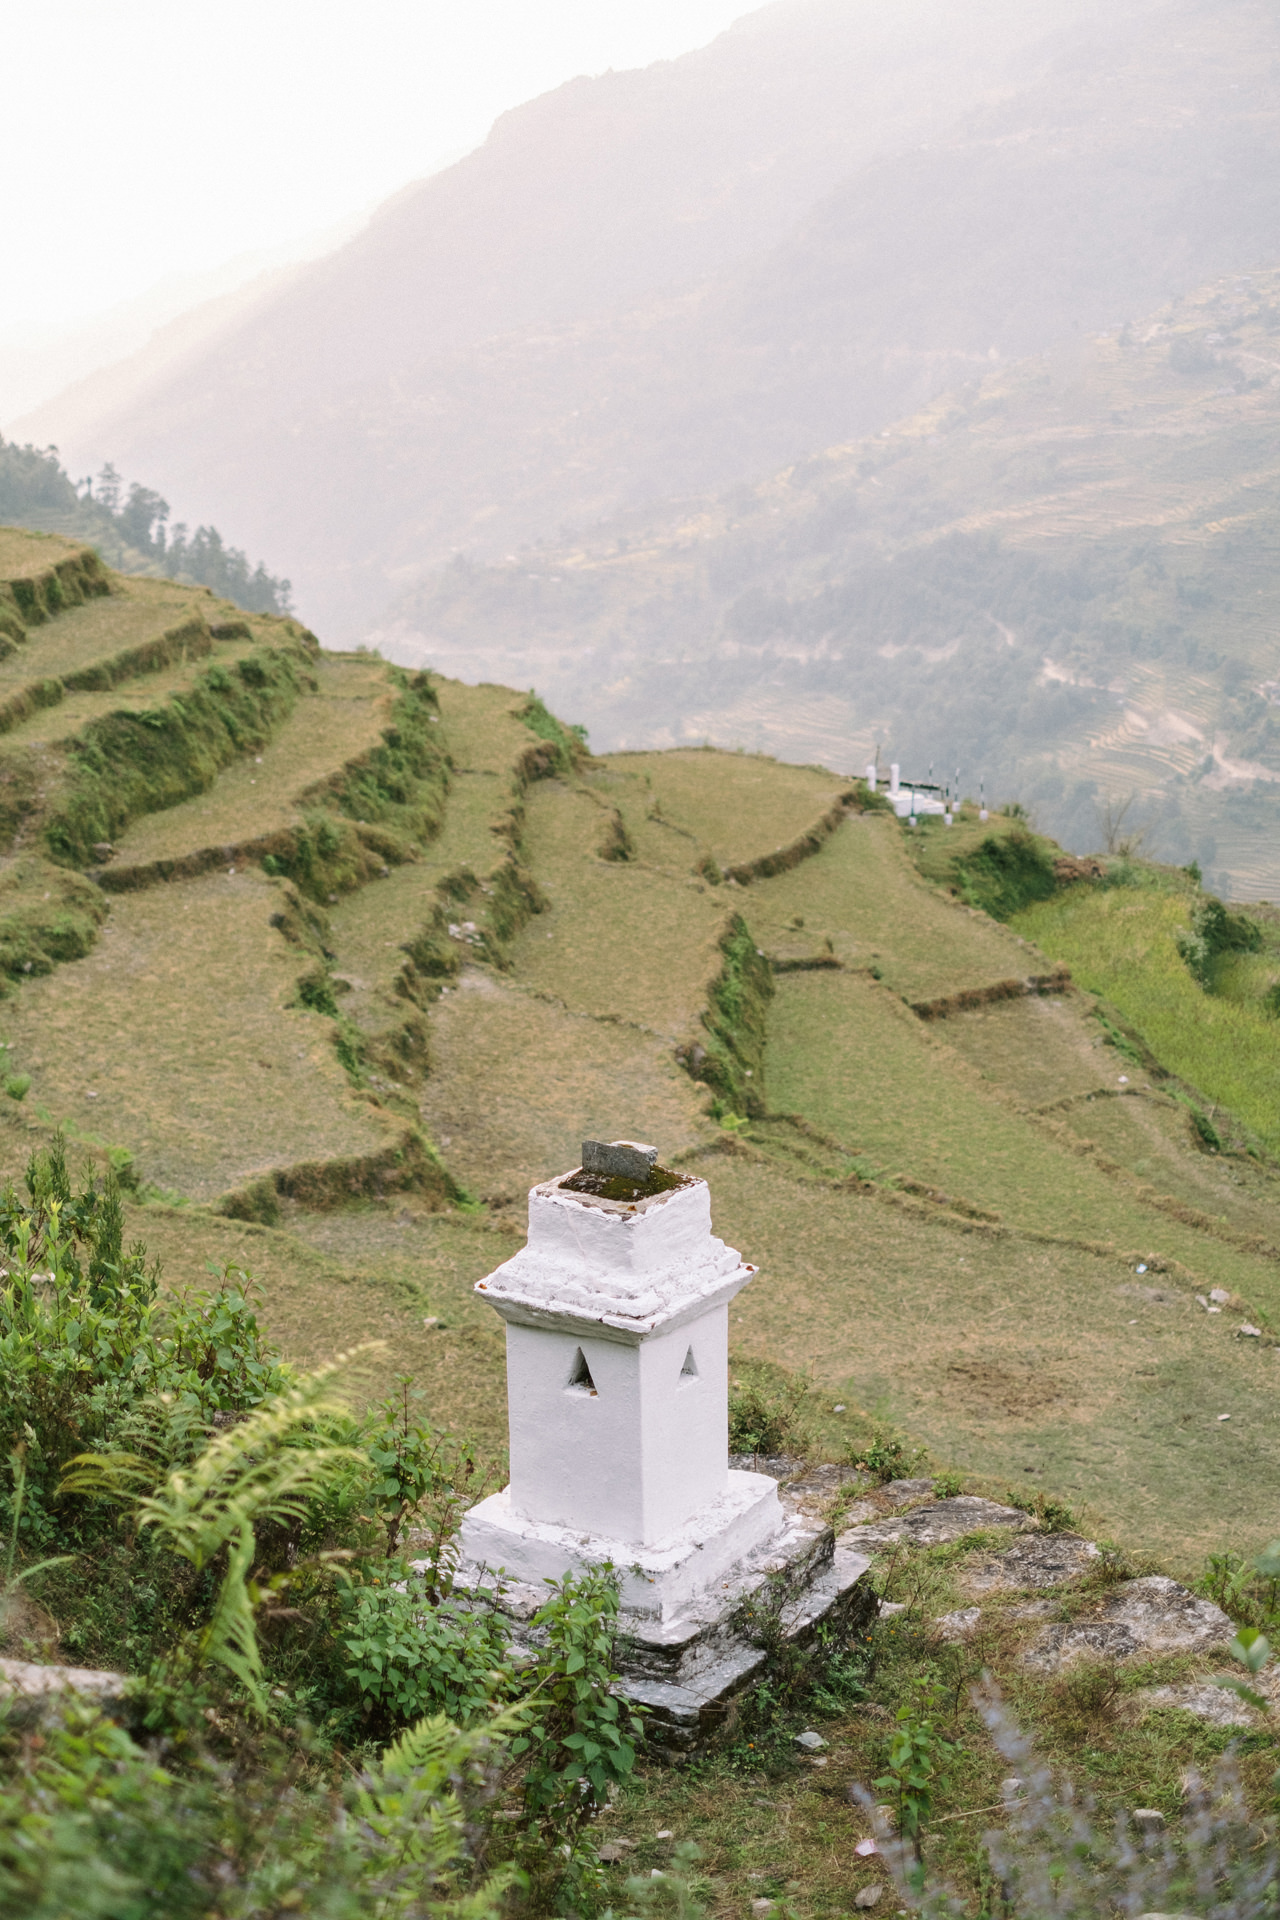
Landruk is a beautiful village located on the opposite of Ghandruk Village. Situated on the mountain’s flank, in the middle of terraced rice fields that sculpt the landscape, this little village has spectacular views over the countryside that forms part of the Annapurna Sanctuary Trek. As you round the corner, you’re met by a view of immense snowy peaks, so big that you think they’re only a few kilometres away. Which is not the case – you’ve still got several days walk ahead of you.
Day 2 – Landruk (1640) to Chhomrong (2160) – 8.5 KM
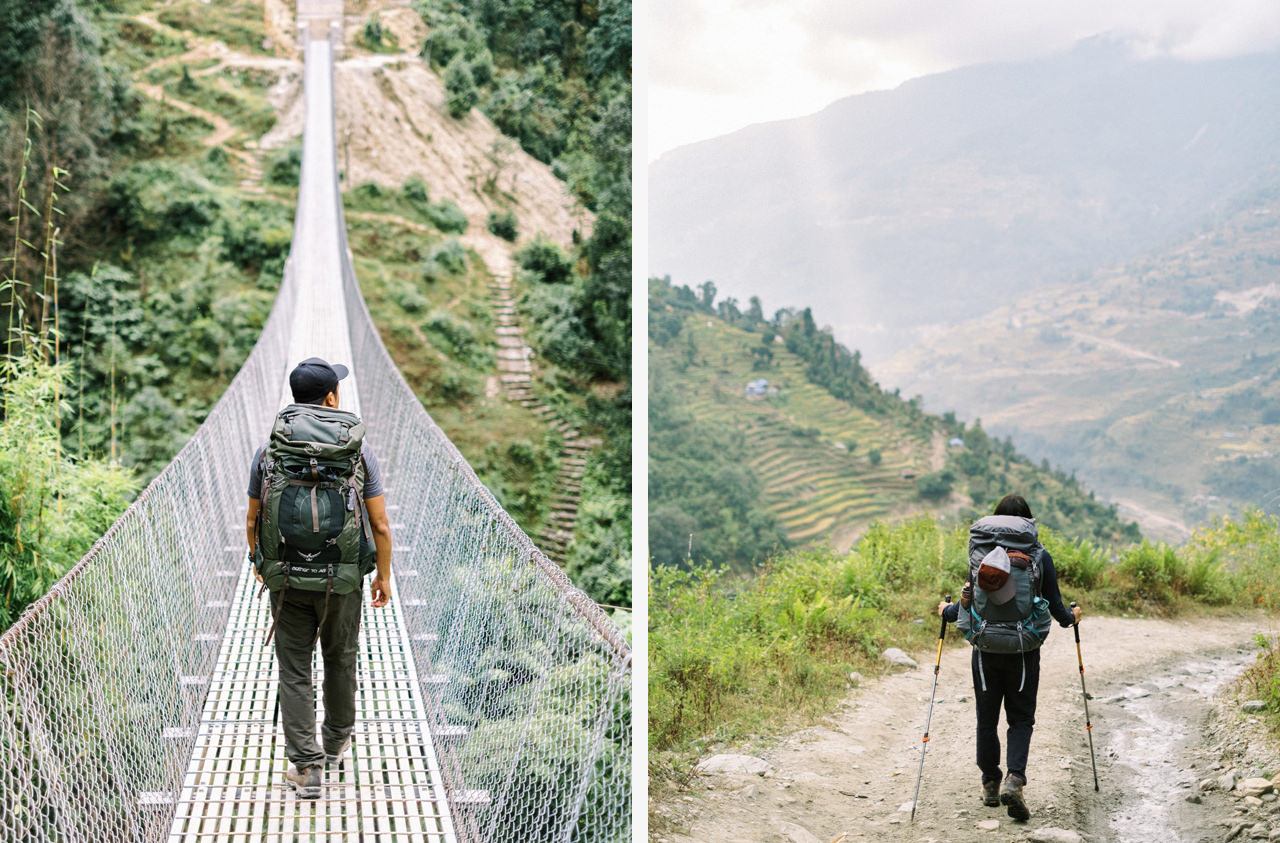
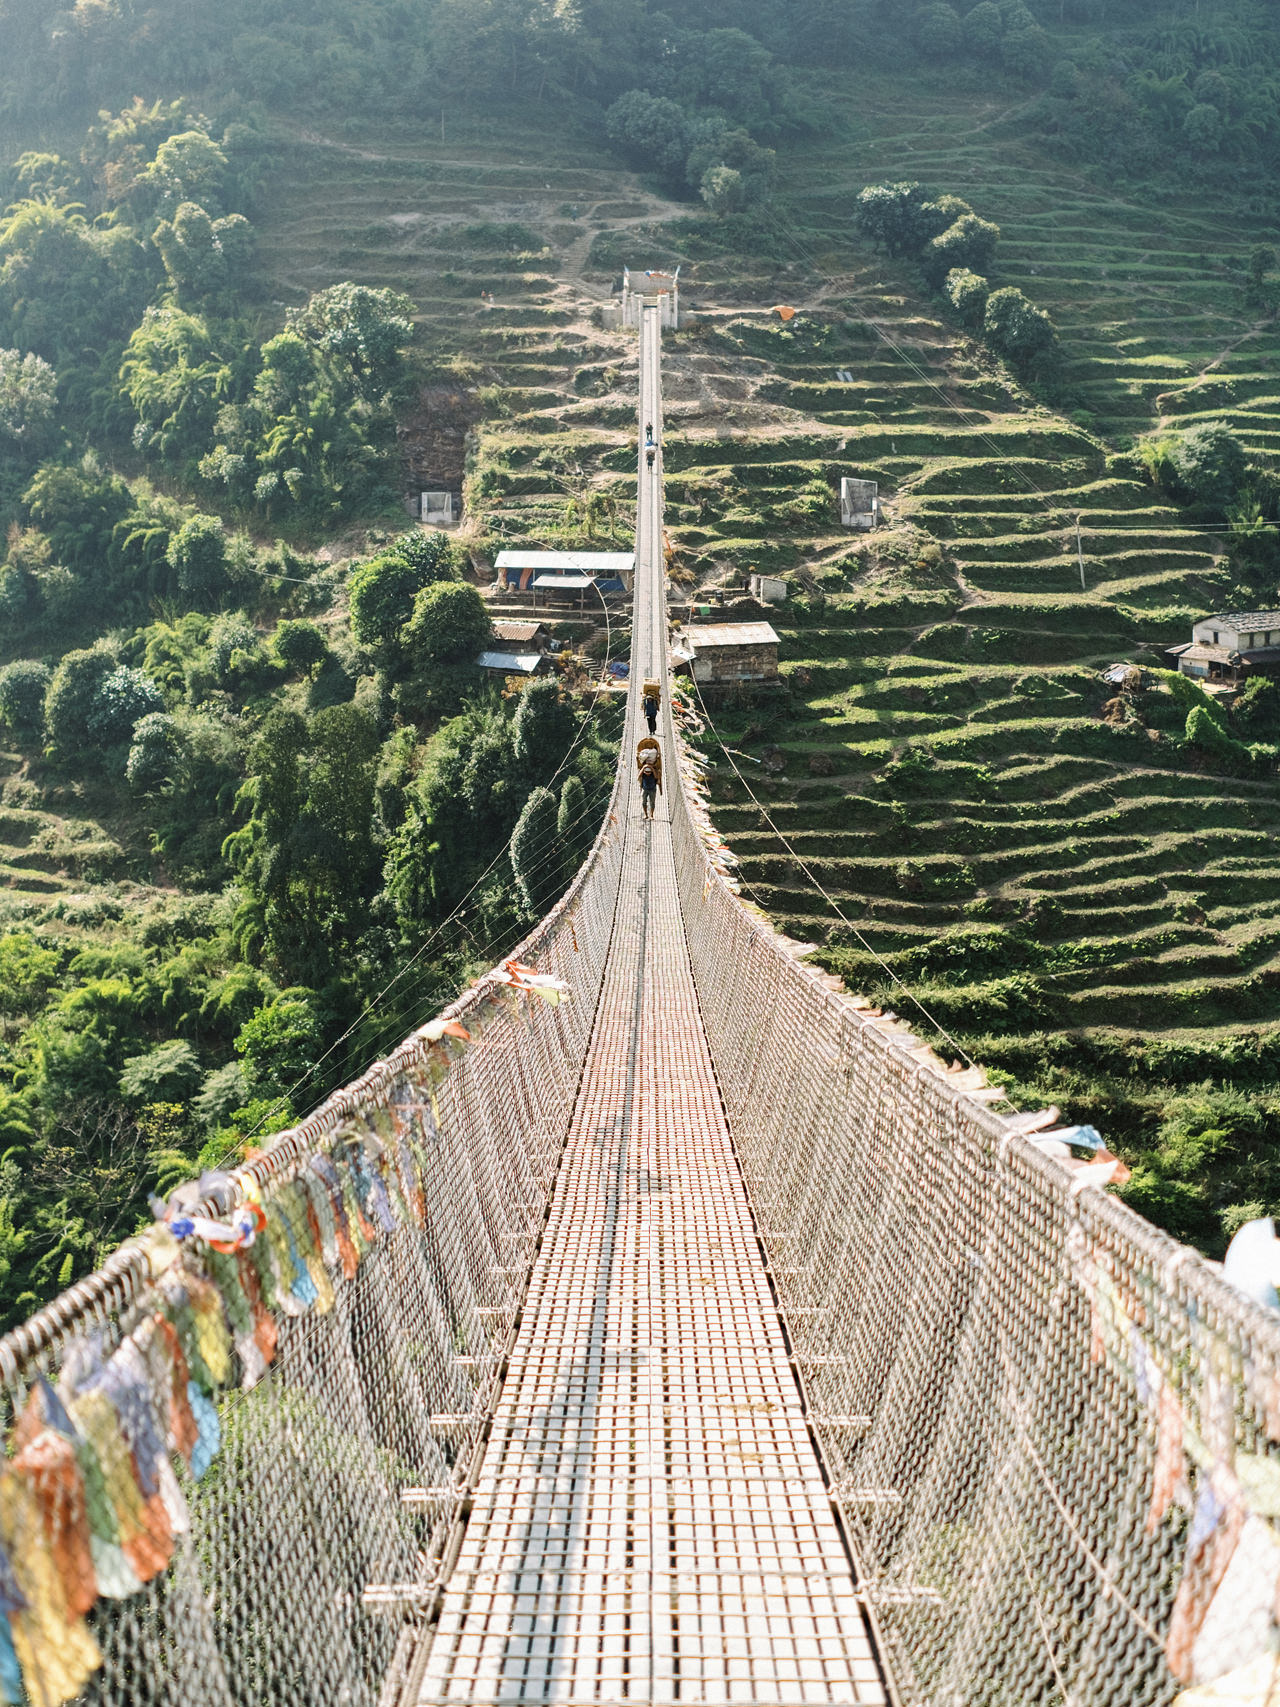
We woke up super early so we can see the sunrise. We got a beautiful view of the peak of Annapurna Range, with snow covering the top and the sun shine it with golden light. We ate our breakfast and by 8 AM continue our journey walked through New Bridge Village, and arrived at Jhinu Danda after we passed the long steels suspension bridge for a lunch break.
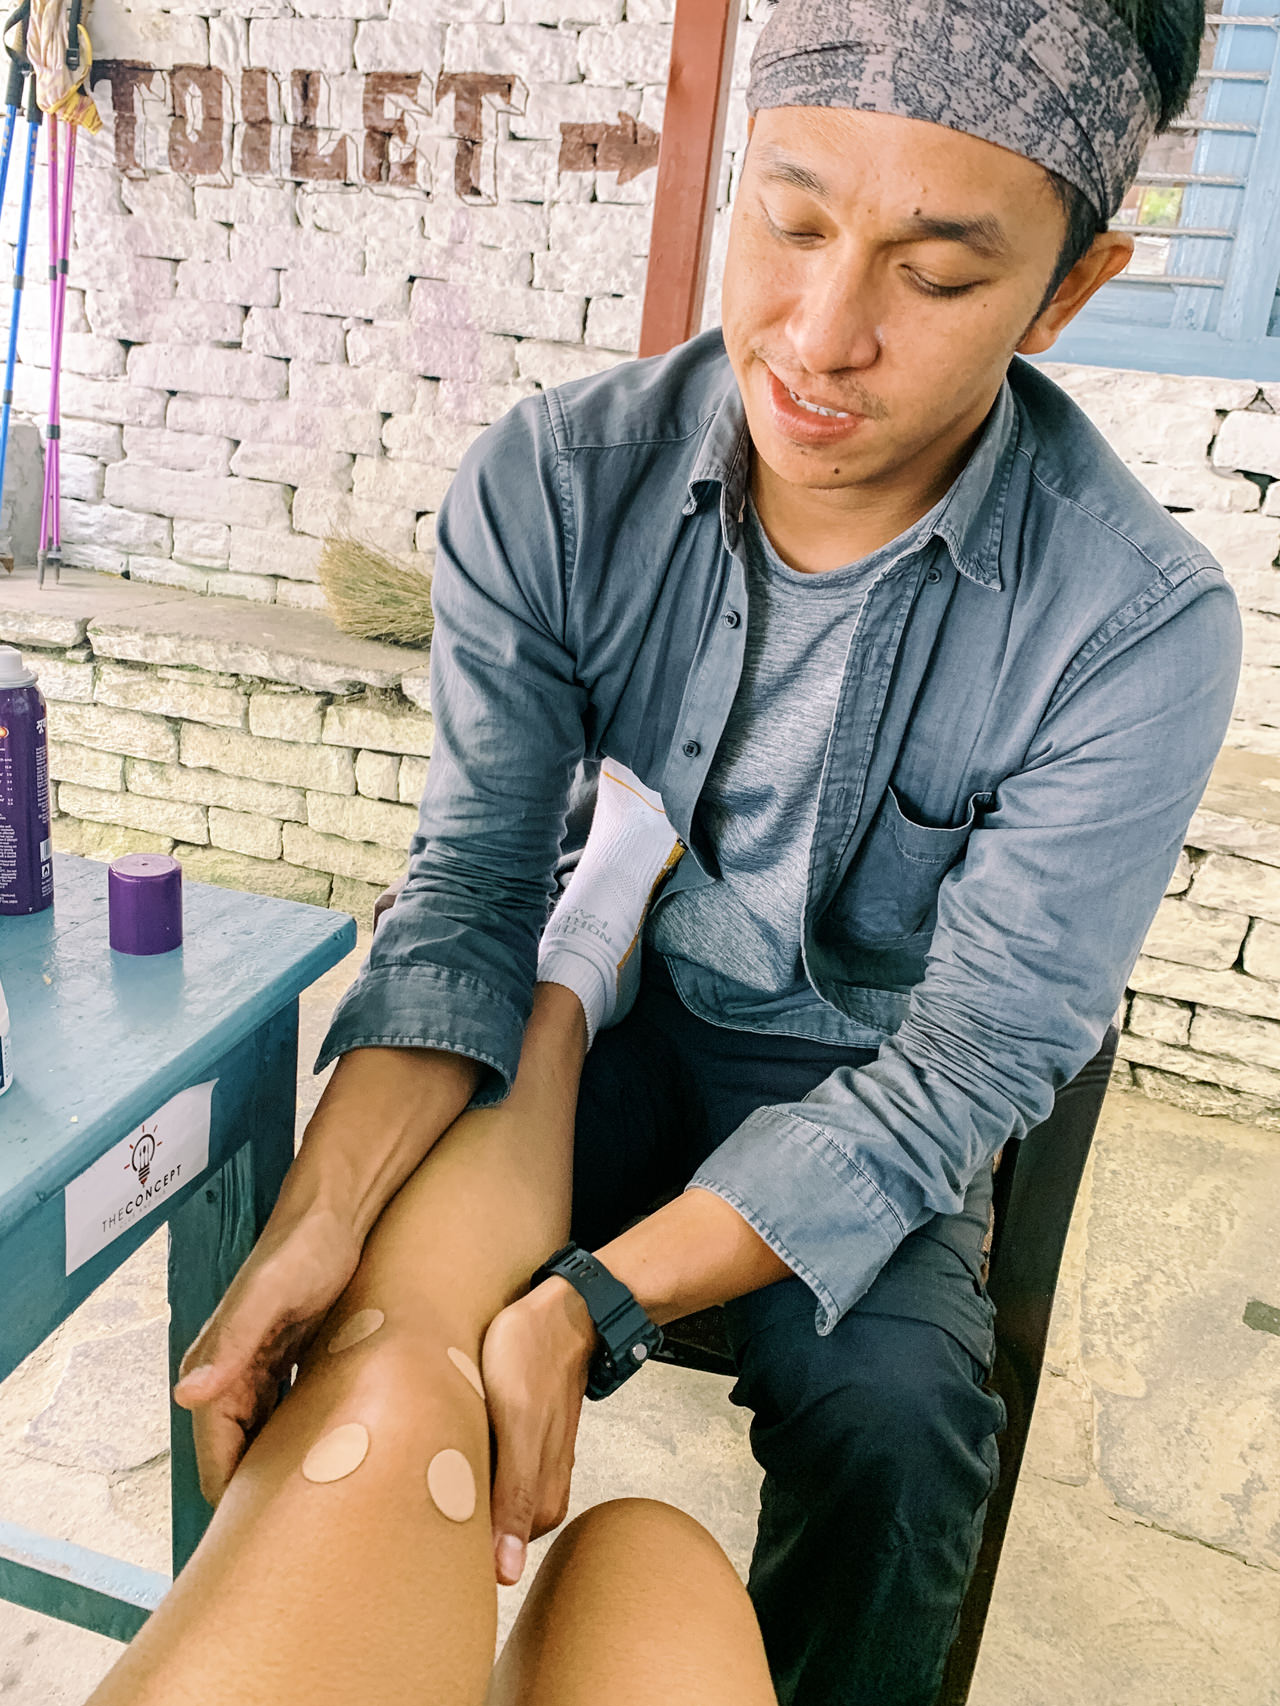
Please make sure you eat enough and rest longer here in Jhinu before you continue to climb the super steep stairs (We called this the Knee Destroyer stairs) to Chhomrong. We took 5 hours to reach Chhomrong and almost given-up because Angen got knee injury. And it’s really hard for her to walk on the never ending stairs. But with big faith we finally reach Chhomrong at 6.30 PM, at complete darkness! Again, I need to check the lodge one by one to get a room for us to stay. And luckily there are few more left.
Chhomrong & NCAP Checkpoint
Our big mistake on this trekking trip was not hiring porter from the beginning, as we are carrying quite heavy backpack (10-15 kilos). It quickly injured Angen knees on the second day because she wasn’t used to carry that amount of weight. And this make climbing from Jhinu to Chhomrong took us 5 hours, where it should be done in 3 hours. Luckily we are able to find a good porter after we arrived at Chhomrong, his name is Ashh. From now on, Ashh will help us to carry some of our heaviest stuff.
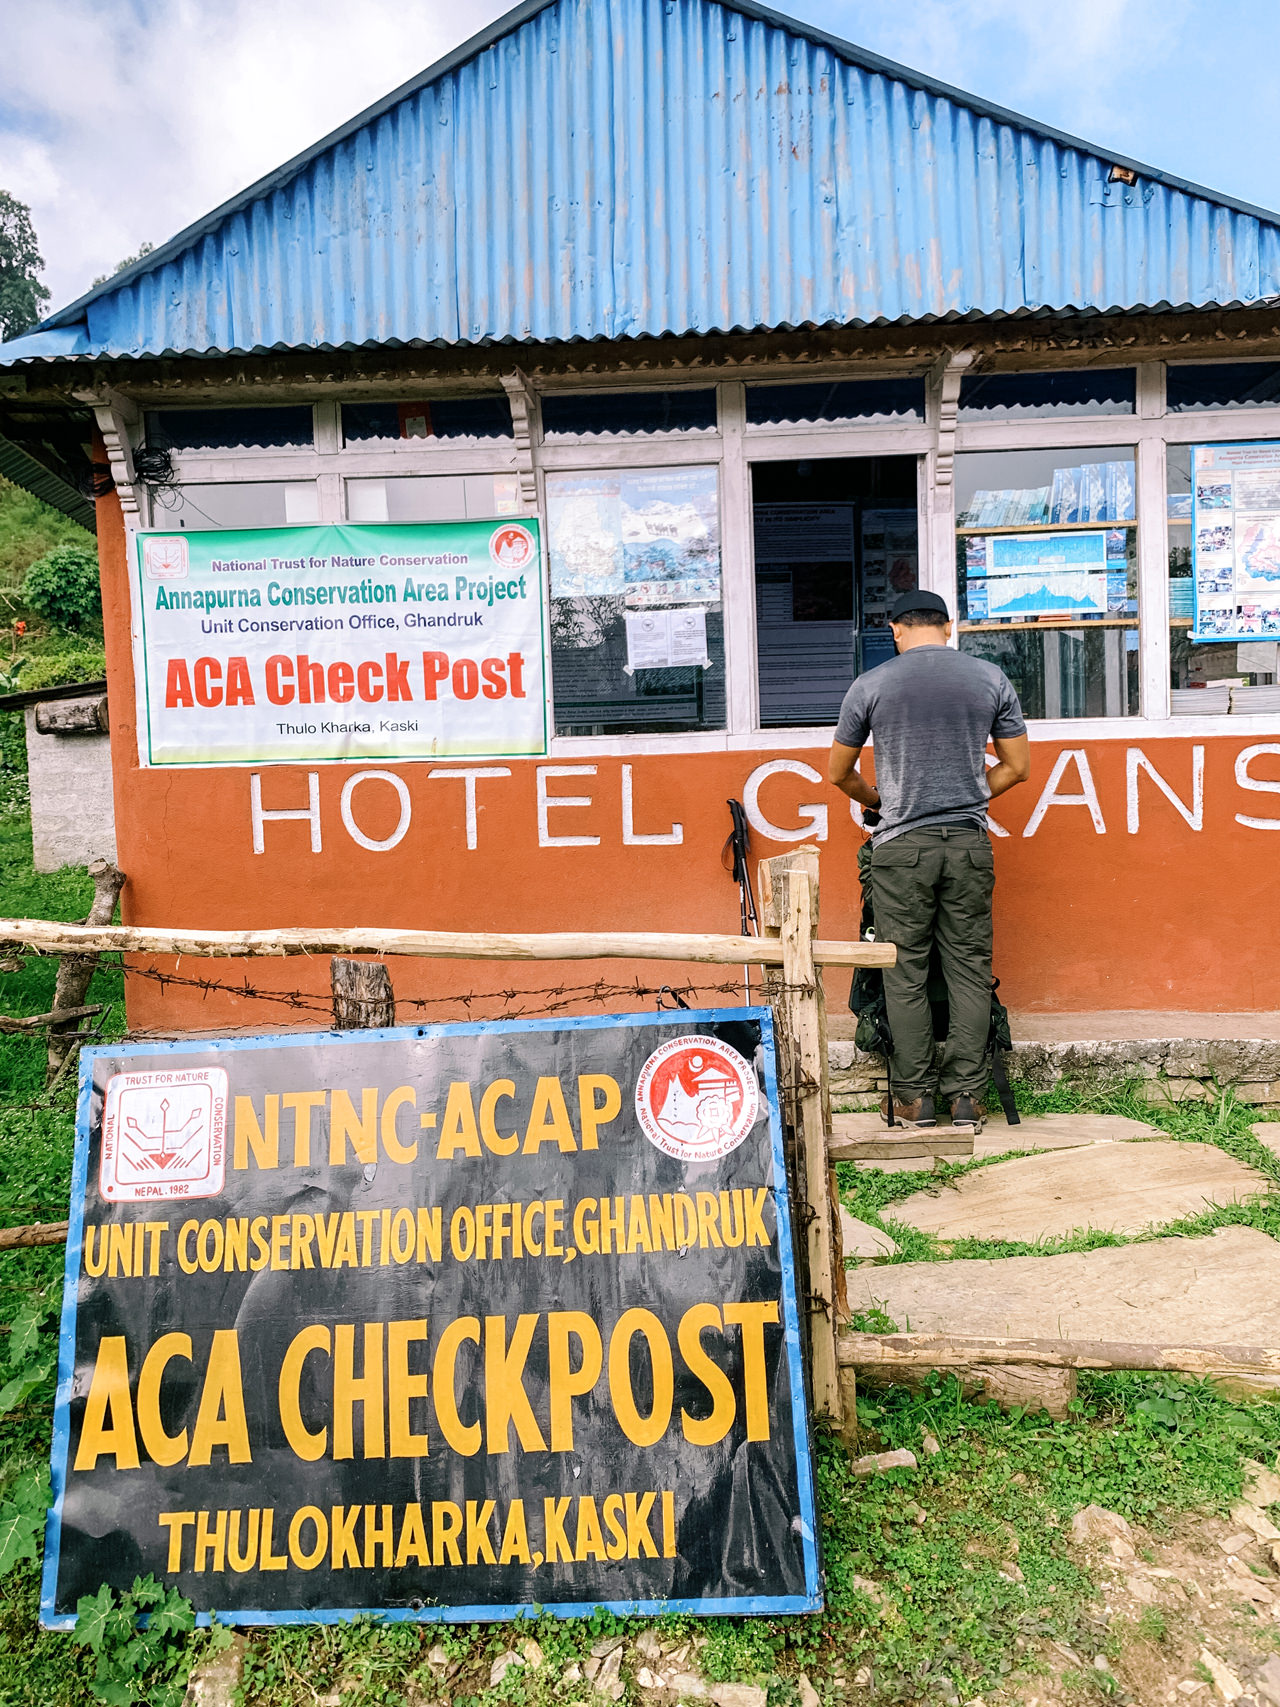
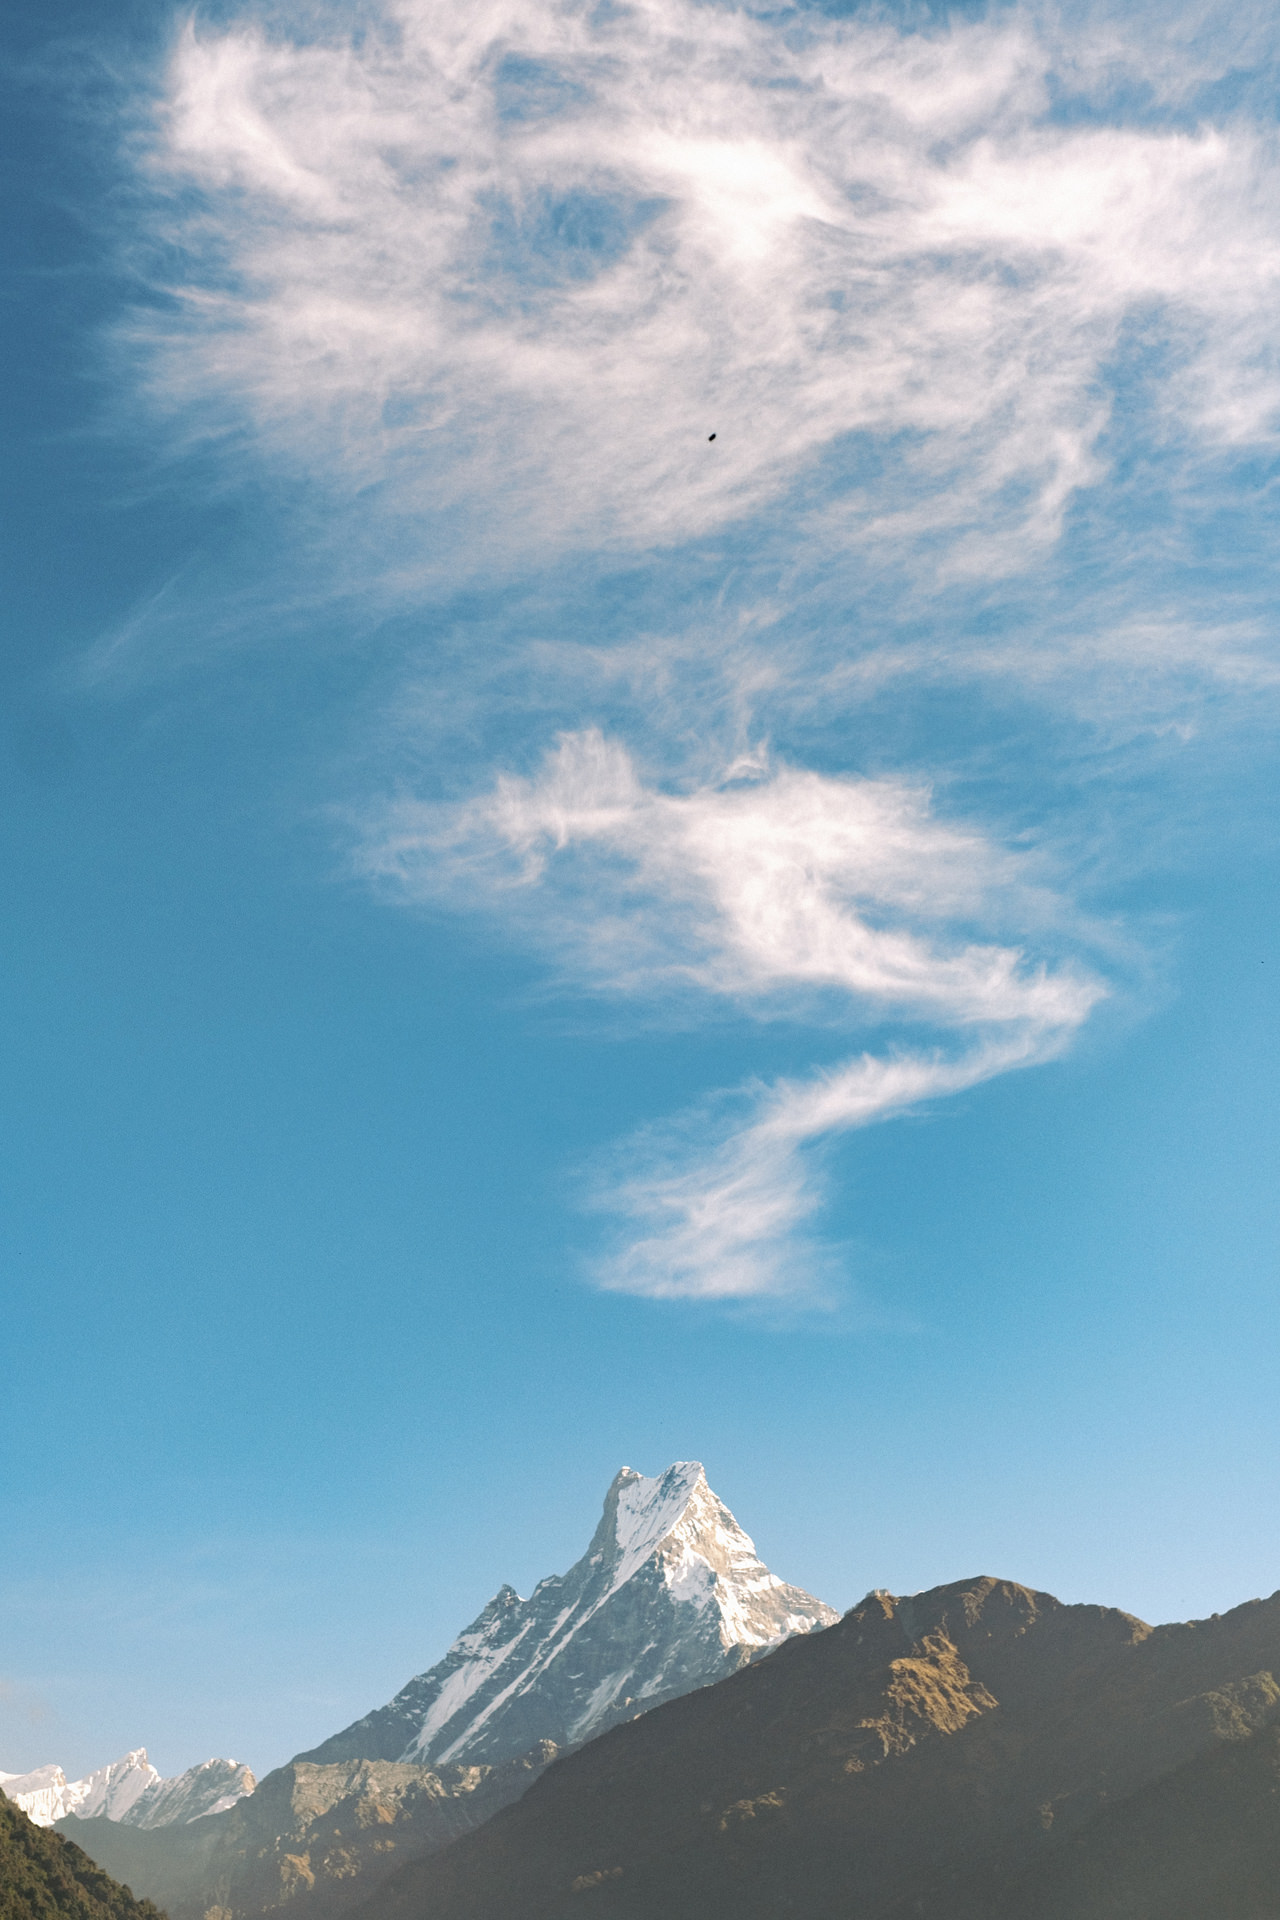
Chhomrong is in the nerve centre of the upper reaches of the Annapurna Sanctuary. Most of the lodges in the Annapurna Sanctuary are owned by people from Chhomrong, as such there is no better place than here to get information on trail conditions, avalanche danger and weather. Also, if you are missing essential items such as sunscreen, sun glasses or gloves, there are many shops here that will be able to help you out. From here on, the settlements are all of recent origin and do not have well stocked shops. It is also the place where you will see one more side of the imposing Machhapuchhre. The shark fin that you have been seeing so far, now gives way to ‘fish tail’ and that is what the name Machhapuchhre means in Nepali. Chhomrong also has a basketball court if you are in the mood for a game. You need to do a checkpoint of your NCAP permits document every time you pass the village.
Day 3 – Chhomrong (2160) to Bamboo (2310) – 6.5 KM
We started out at 9AM walking down a mountain from Chhomrong, crossed a suspension bridge and after descending all of the stairs in Chomrong you’ll be happy to start your ascent. This was a big one and it took us 2 hours to reach the next town of Sinuwa. We stoped by at Upper Sinuwa for lunch break. Further climb and descent landed us in Bamboo. Most people opt to stay in Dovan, a further 40 minutes on the way up. If you have the time, staying in Bamboo was a great way to spend a sunny afternoon and meant this was just a short day trek. My knees were very happy.
The path is easy with a steep descent in the end. It was a bit relaxed day because we have Ashh to help us with carrying the backpack as well as reserving the lodge for our next stay. Bamboo had by far the best showers I experienced during the hike. HOT electric shower, with guesthouses offering bonfire outside in the evening.
Day 4 – Bamboo (2310) to Deurali (3200) – 7 KM
We started out 8AM as usual and pass two villages Dovan & Himalaya. We took a lunch break & drink some Lemon Ginger Honey at Himalaya. Then proceed climbing all the way to Deurali, this trek is about 6 hours in total. It shorter than the last 3 days, but the elevation gain is almost 1000 meters. You need to get slow to avoid the altitude sickness.
Before reaching Deurali you will passing a Waterfall. We took a quick break here, as after this waterfall, the stair & trail is getting steeper. We arrived at Deurali early, and we also sleep earlier. Because the next day will be a big day for us. The temperature here is quite cold for us around 5*C at daytime, and -2*C at night, so be prepared.
Day 5 – Deurali (3200) to Annapurna Base Camp (4130) – 7 KM
We woke up at 6.30 and start trekking to MBC (Machhapuchhre Base Camp). It was just about 7 hours from Deurali to ABC (Annapurna Base Camp) with a fast break at MBC. For me the most stunning view of this trek were here, between Deurali & MBC you will walk along the Glacier stream up the valley. Further along the valley the sight of the peaks pulls us forward. With crystal blue sky in the background. We left our bag and stuff at MBC and hike to ABC then walk back to to stay a night at MBC. We prefer this because MBC is warmer compare to ABC.
The day was surprisingly easy, with a few longer climbs but also some fairly flat and easy sections. It was actually not a long hike, but we recommend to take it slow and let your body get used to the lack of oxygen while you climb. It’s almost 1000 meters difference in altitude from Deurali to ABC. Some trekkers even choose to spend a night at MBC to get acclimatised. It is crucial to turn around and head down if you show any symptoms of altitude sickness.
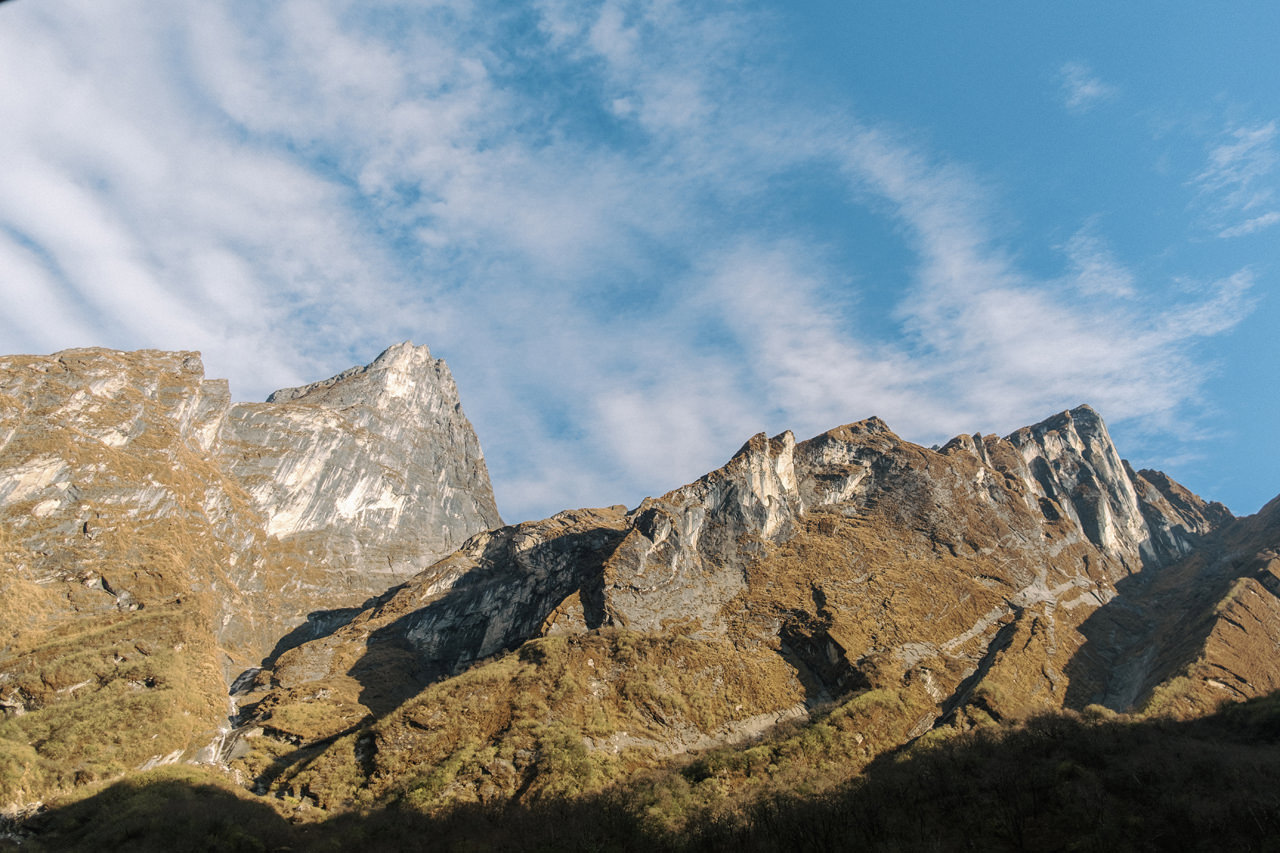
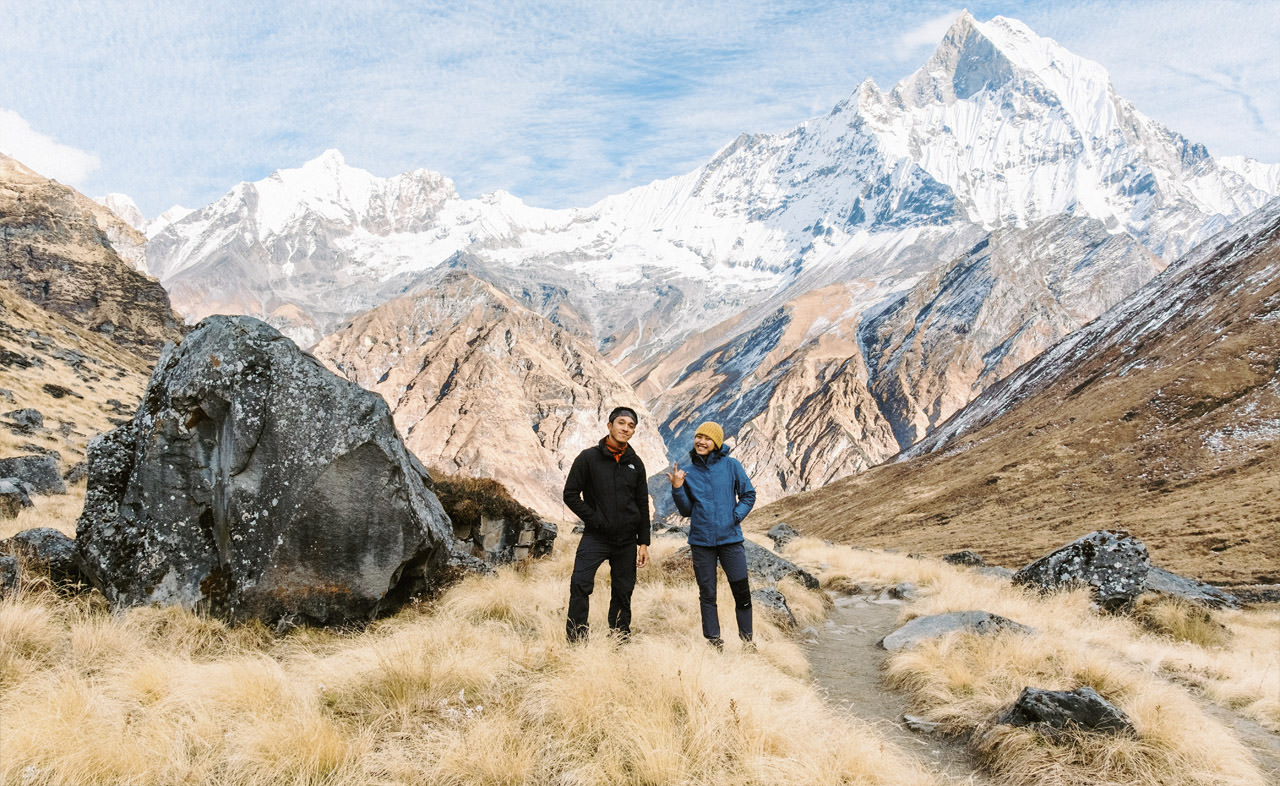
The way to ABC is mildly steep even though the trail climbs another 400 meters between MBC and ABC, leveling off somewhat as you approach the camp. The grass is golden, the peaks white and the sky as blue as blue can be. Truly magical. The clouds continue to mound and I’m pulled into camp by a combination of excitement and adrenalin.
Altitude sickness
Altitude sickness is not something you can do a lot about once you have it. Well trained people can get is as easily as untrained people. Some people that we met along the way got this sickness. Having said this, there are some things you can do that will lower the chance of getting altitude sickness:
1. Take the journey slowly & well-rested on each stop.
2. Drink plenty of tea and water
3. Acclimatize every day – your guide will help you and tell you what to do
4. The last option: use Diamox
Note: you should take Diamox from about 3.000 meters altitude and keep on using it until you get back to that same altitude. Stopping half way is not recommended. Diamox will only attempt to prevent you from getting altitude sickness. Once you have it, you are too late and your only option is going back down. Always make sure to inquire with your guide about the use of Diamox!
We Arrived at Annapurna Base Camp at 2 PM. Reaching ABC provided a weird mix of emotions: immense relief at finally arriving as well as excitement at being so high. The adrenaline let me strip down for a photo with the ABC sign and it was time to layer back up and grab some lunch. Then we quickly Walk back down to MBC before it gets dark.
Day 6 – Machhapuchhre Base Camp (3700) to Sinuwa (2340) – 14 KM
Trekking back down wasn’t a lot easier than the ascent, there were still a surprising number of hills to climb. We managed to go all the way down to Sinuwa before 5 PM included with quick lunch break at Dovan. We started to feel the knee pain again when arrived at Sinuwa, It was 9 hours & 14 KM trek and our leg muscle started to crumble. If you feel it’s too extreme, we will recommend you to stop & sleep over at Bamboo instead.
Day 7 – Sinuwa (2340) to Motkyu Jeep stop – 9 KM; Drive back to Phokara
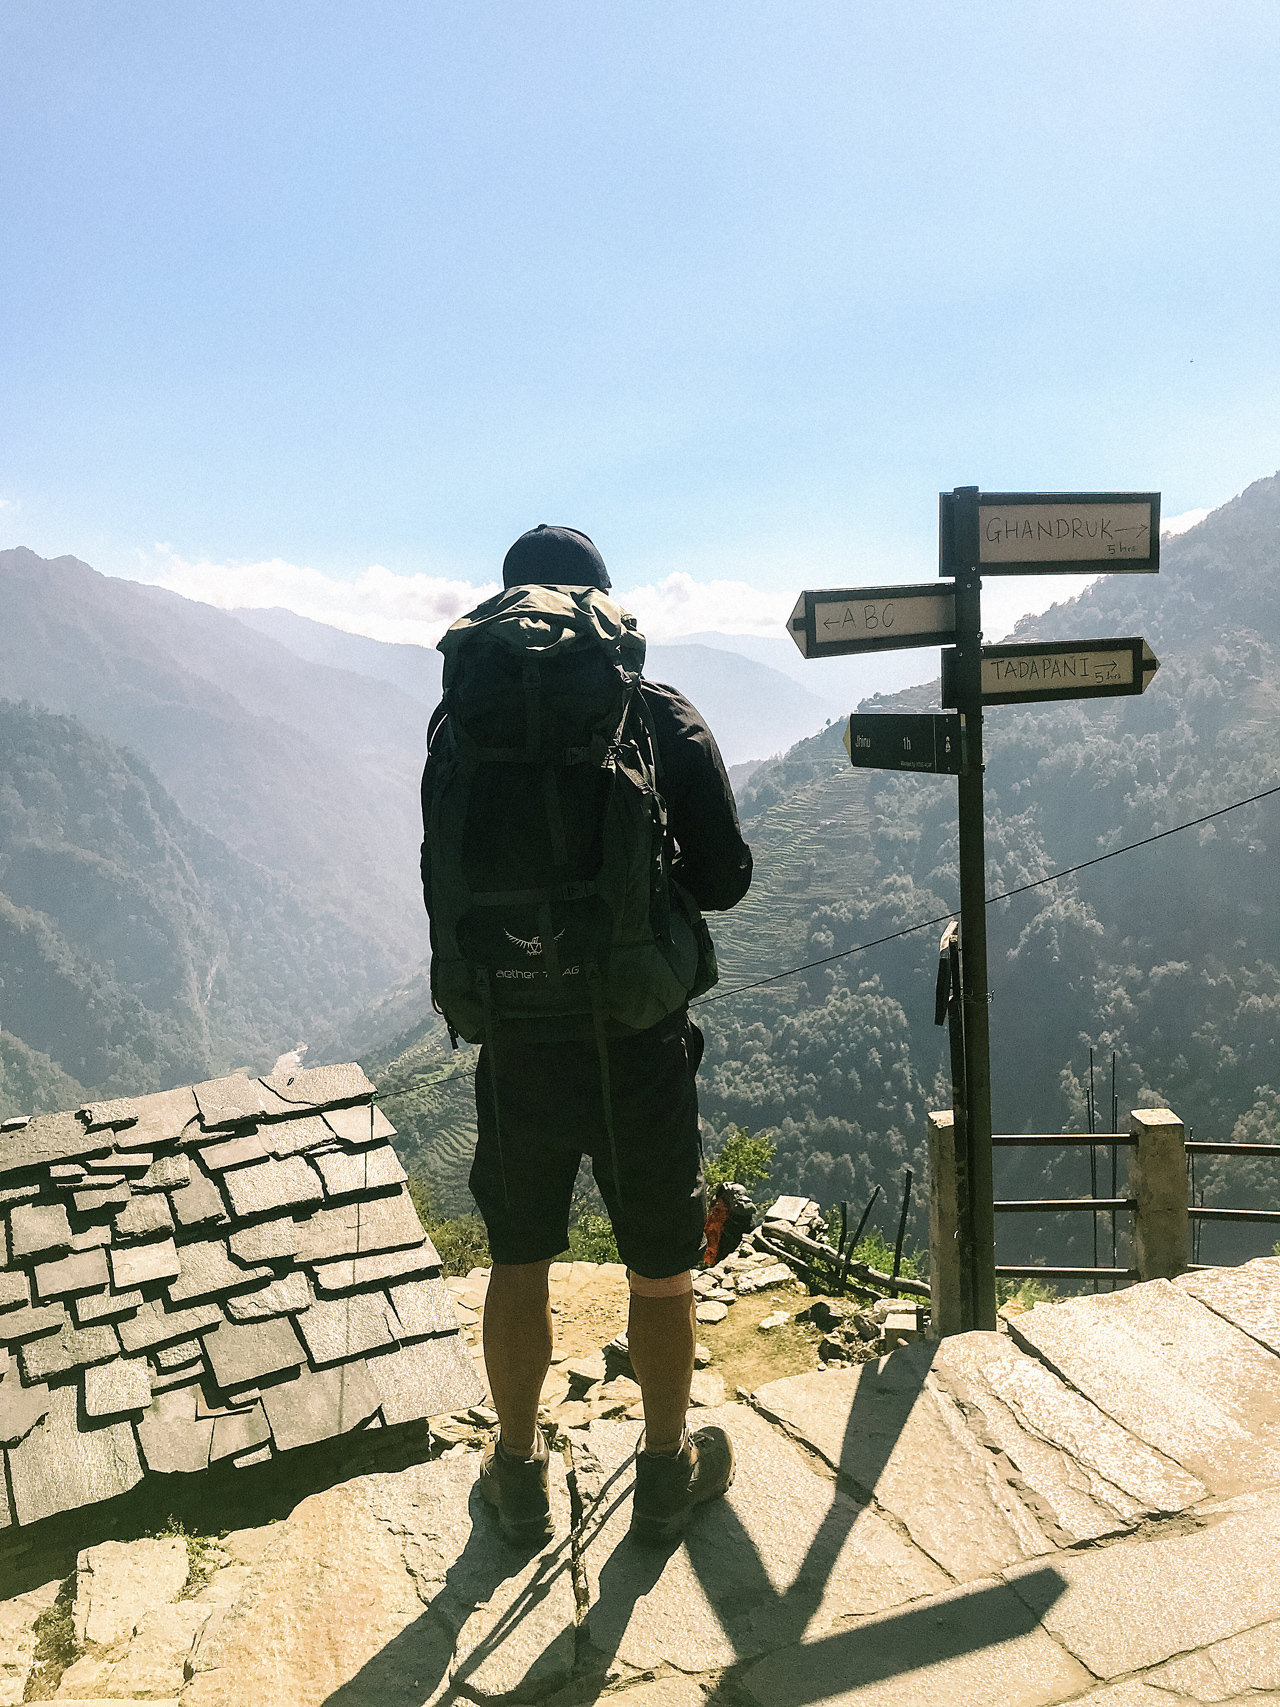
Day 7 was our last trekking day. The ‘descent’ still involves a lot of steep ascents and so might tire you out pretty quickly. The walk up into Chhomrong was enough for me to feel exhausted. So we take early lunch break, then carry on for a further hours down those many steps and reach Jhinu Danda. We passed the Jhinu suspension bridge. And instead of walk back to Landruk, we walked up toward Ghandruk to reach the Motkyu Jeep stop.
From Jhinu to Motkyu Jeep stop will take about 3 hours. If you can’t reach Motkyu Jeep stop before 6PM (The last Jeep / Bus at Motkyu is 6 PM) then we will recommend you to stop at Jhinu and stay one more night there. Jhinu Danda has some natural hot springs, it’s perfect remedy for tight muscles.
Back To Pokhara
Driving from Motkyu to Pokhara took a bit longer than expected, it took about 3 hours. We passed few big village before we arrive in the checkout point at Birethati Kaski. We cried, we laughs, all emotion mixed together, when we finally put our feet back at lake side Pokhara. What we have been through the last 7 days keep wondering around in our mind. It was the worst days of our life yet the most unforgettable moment!
We laid down about a week at Pokhara before we flew back to Bali. We tried all the coffee shops, local & Indian restaurant, they were so good & we love them so much!


